


Peace-of-Mind Perks With Every Purchase
Enjoy Free Shipping
Free shipping anywhere in the continental U.S.
No-Worry Warranties
Protect your investment with trusted warranties.
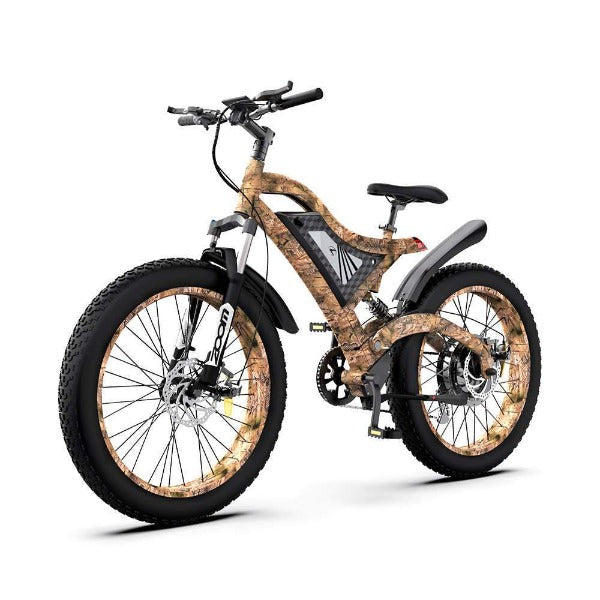
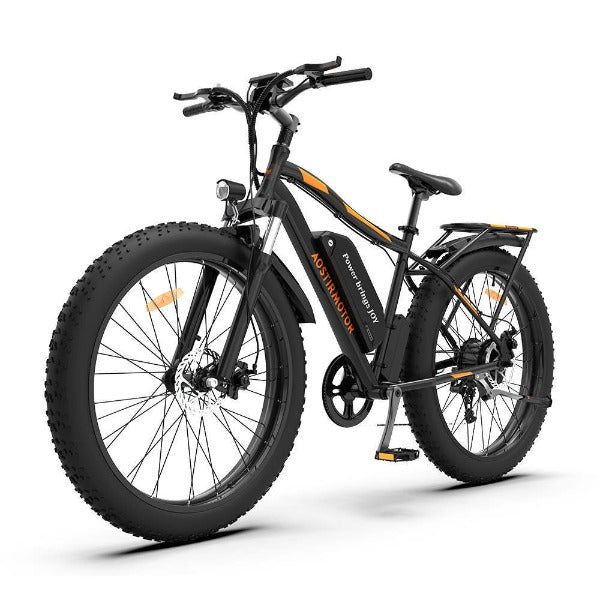
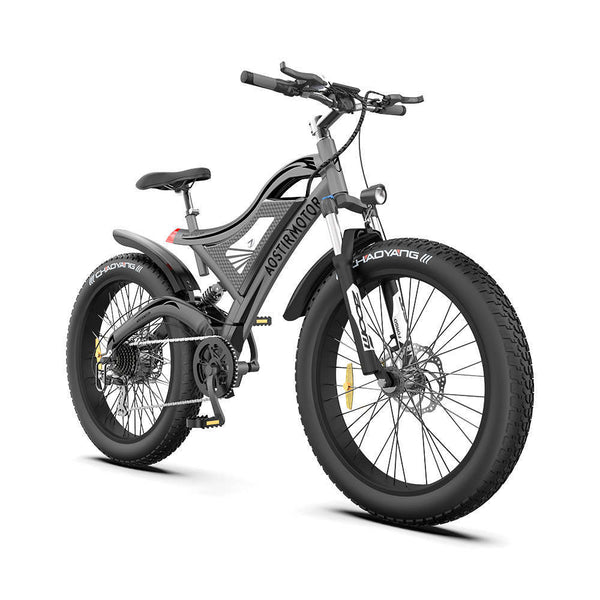
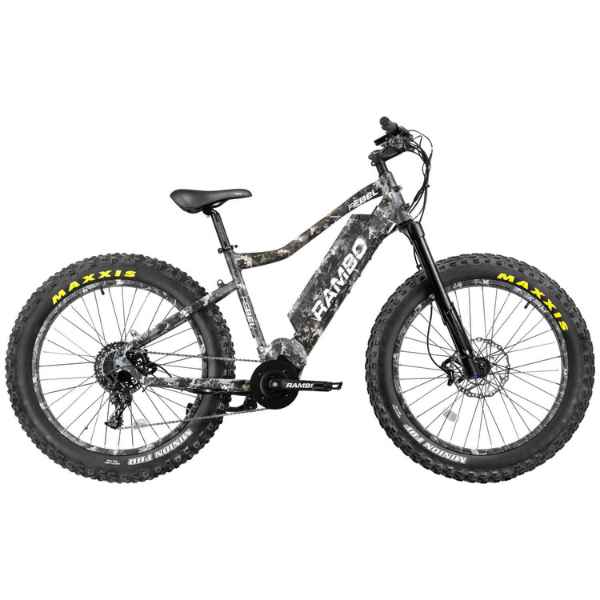
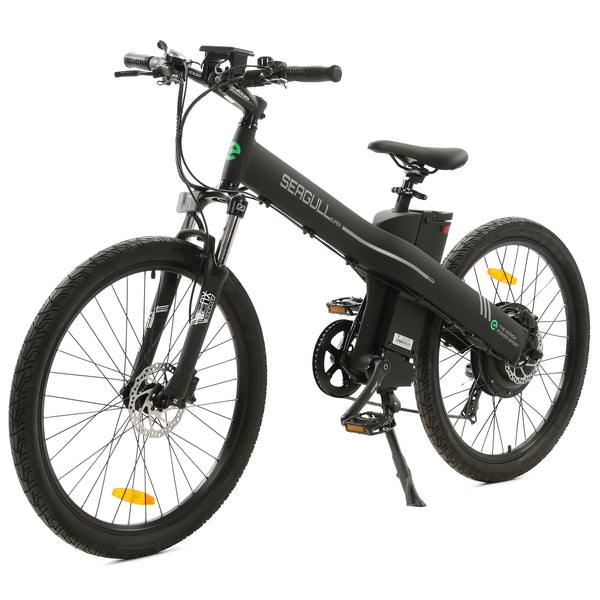
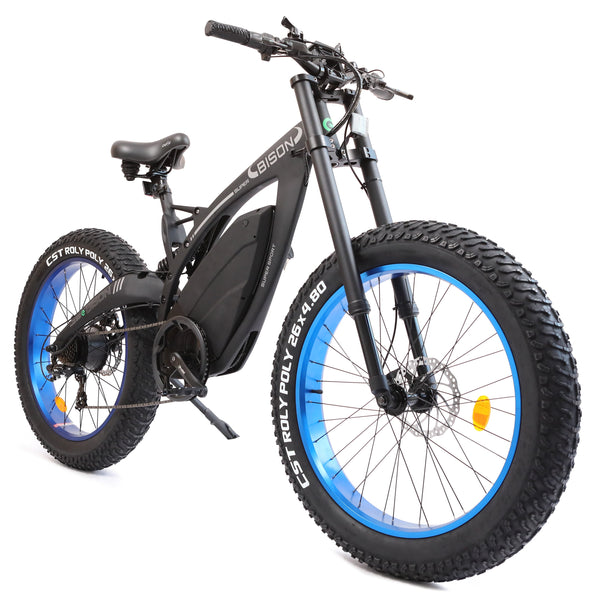
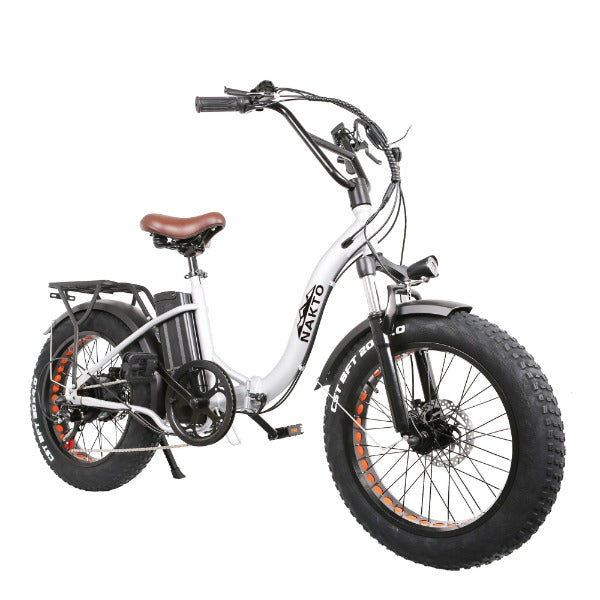
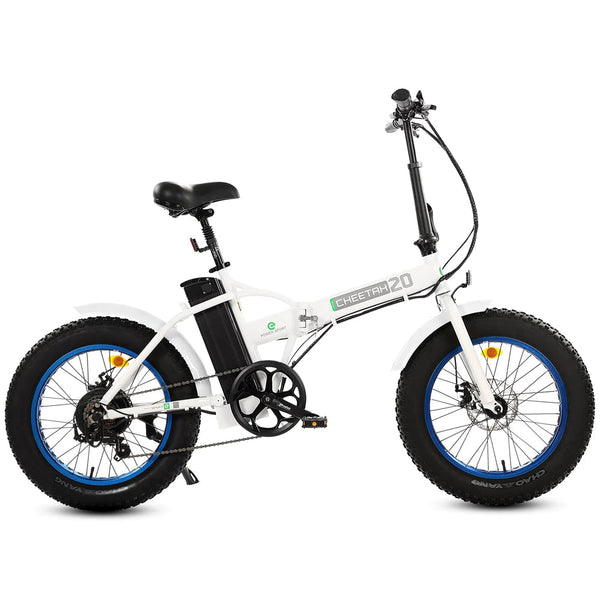
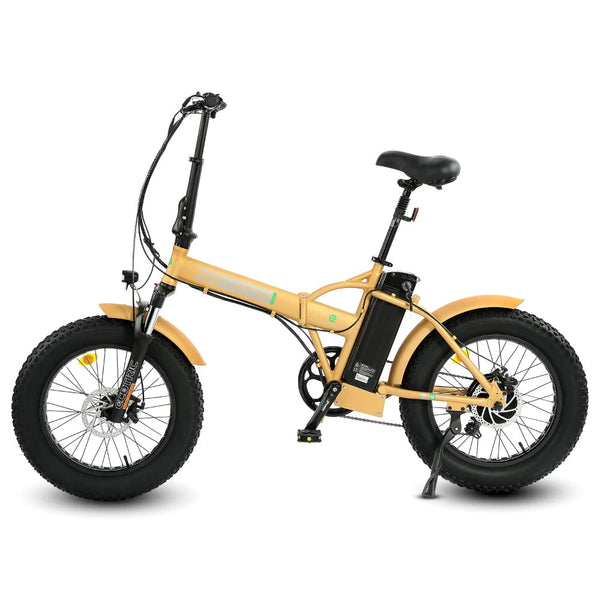
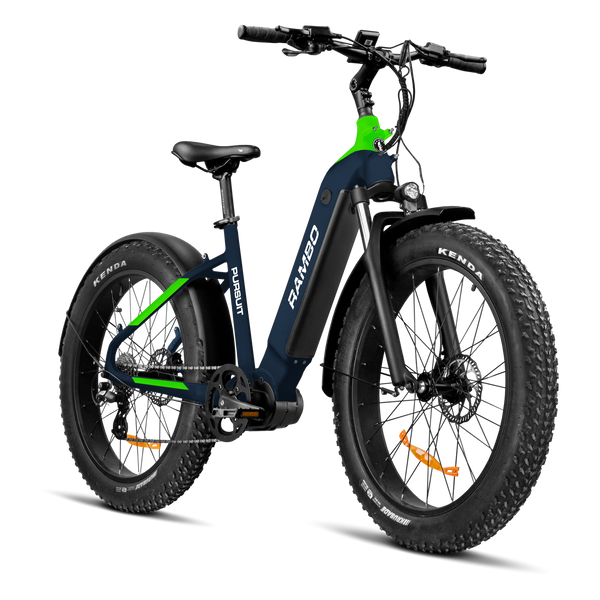
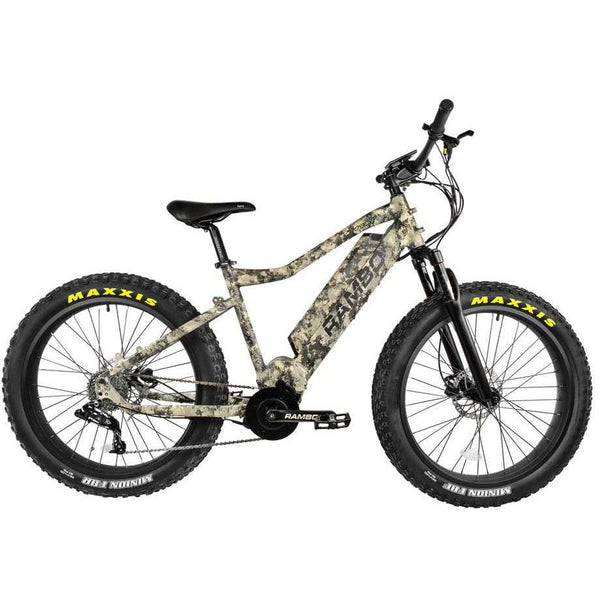
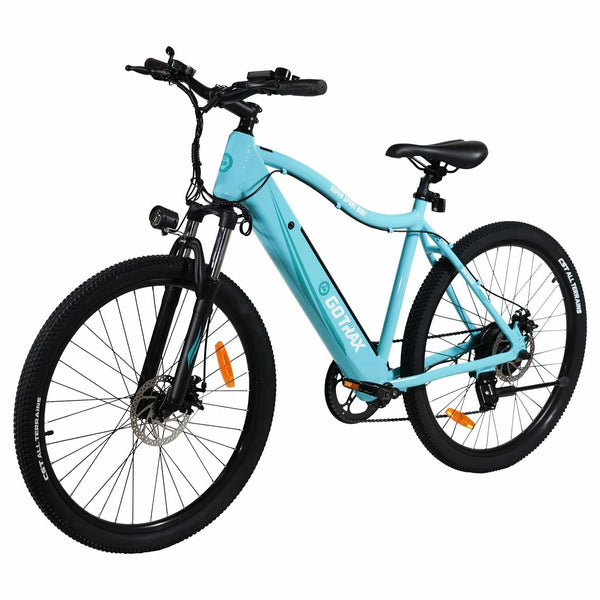
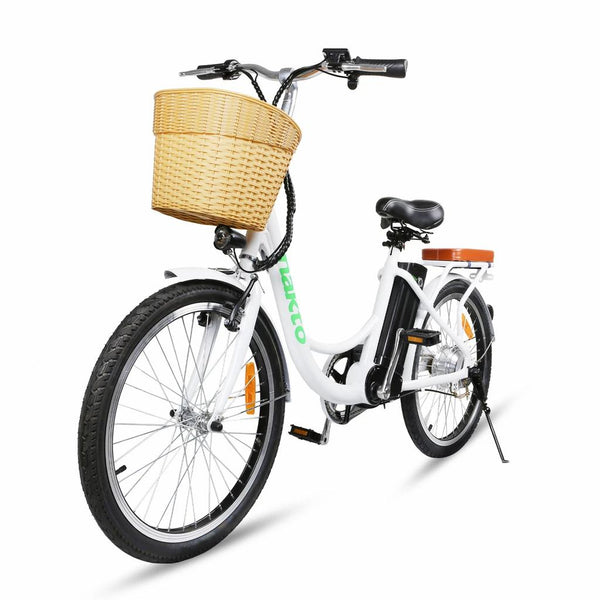
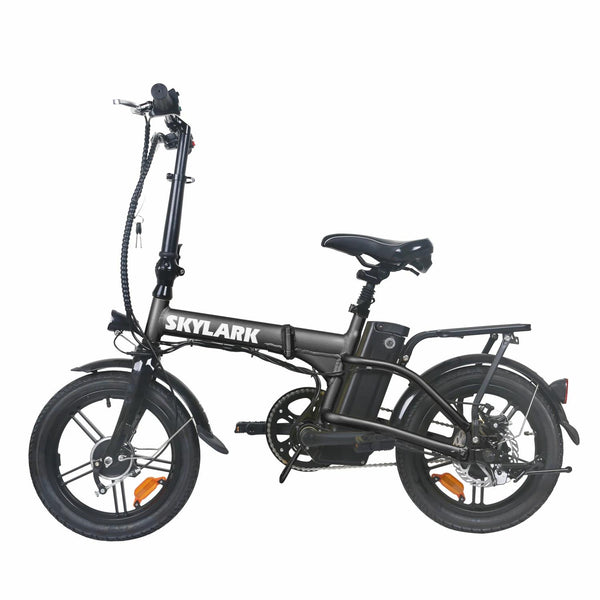
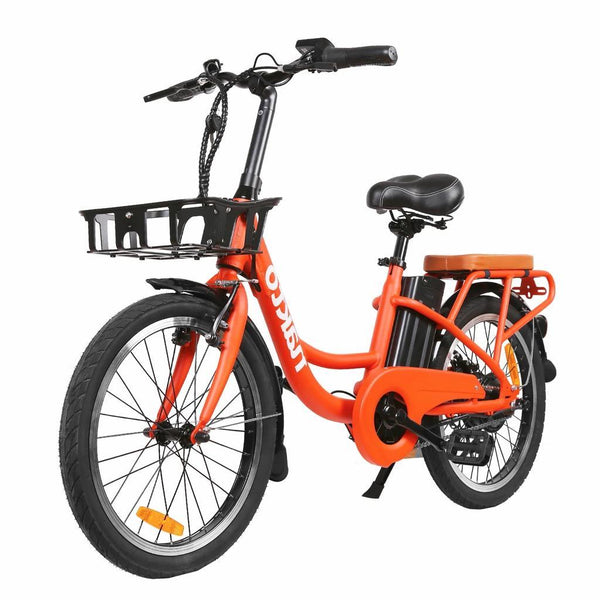
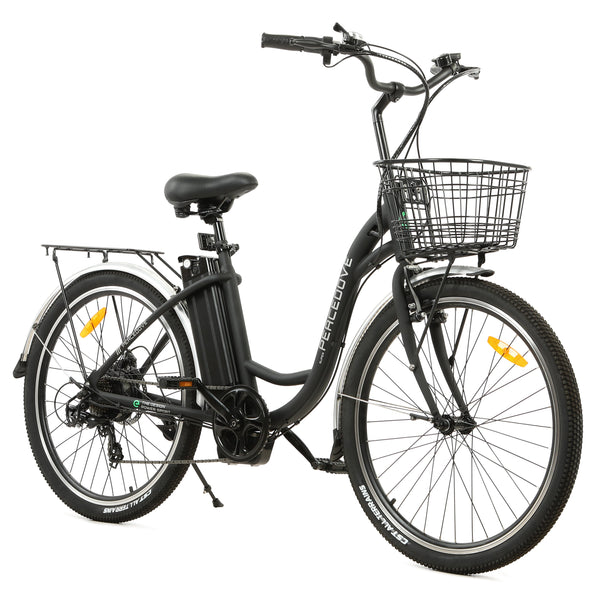
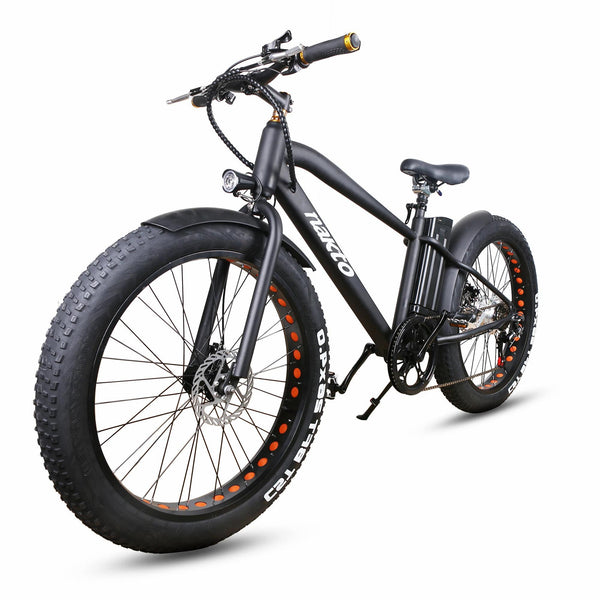
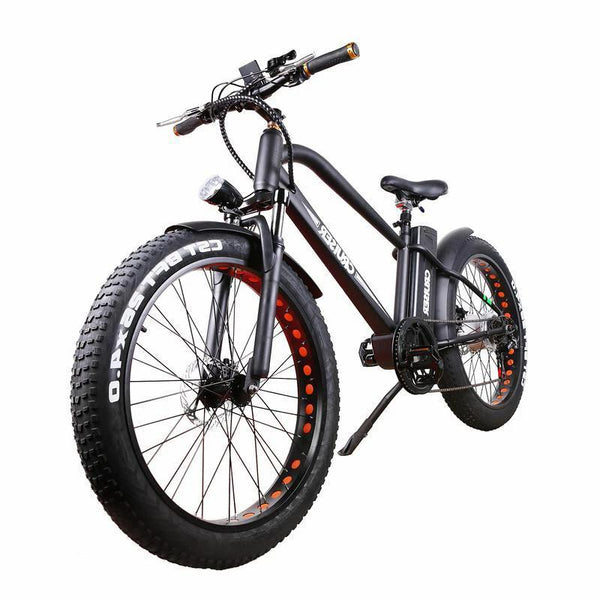
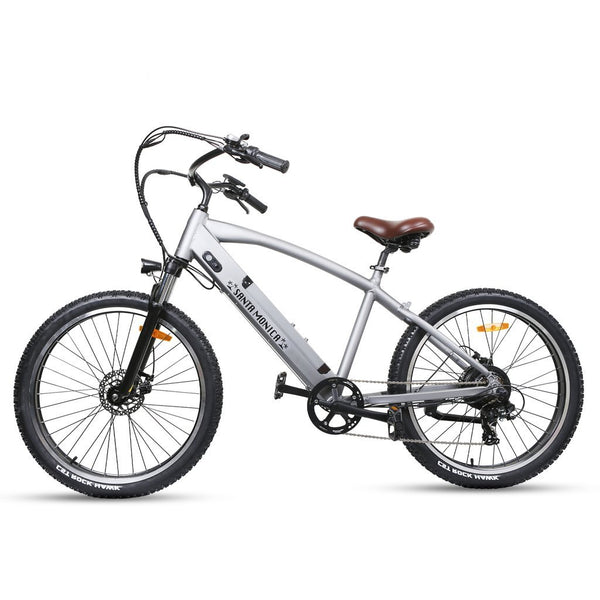
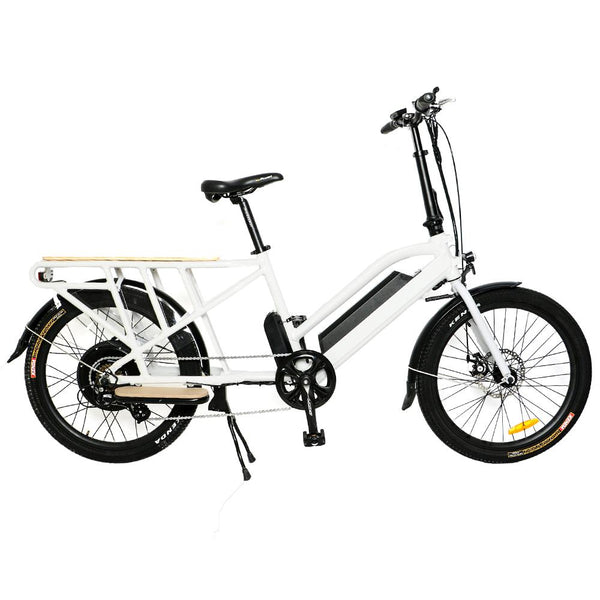
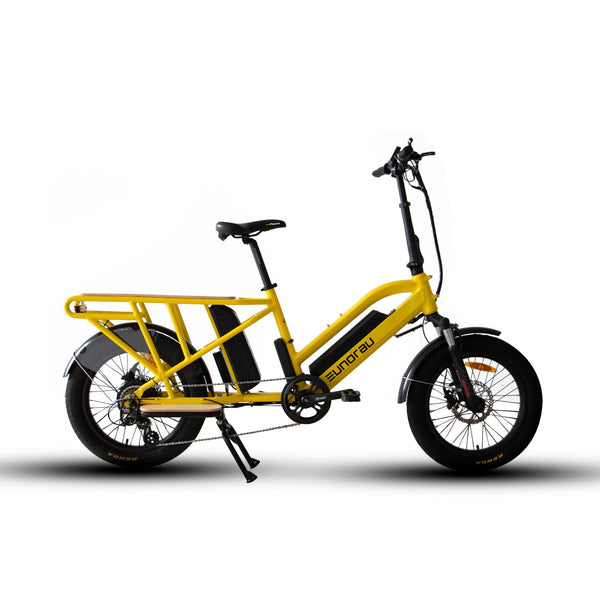
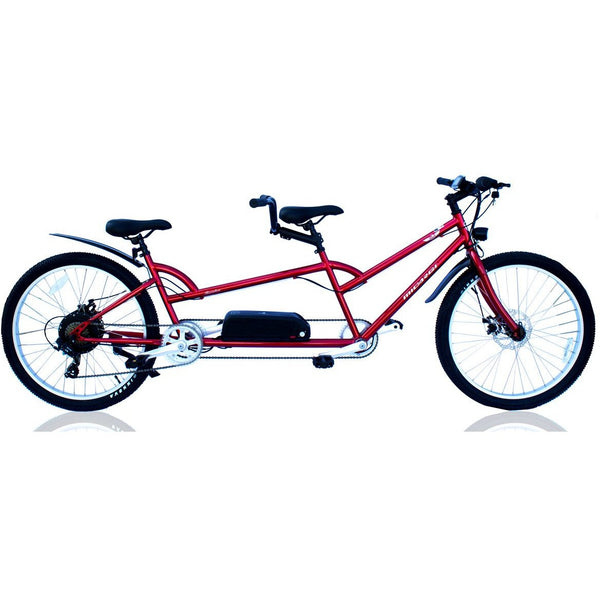
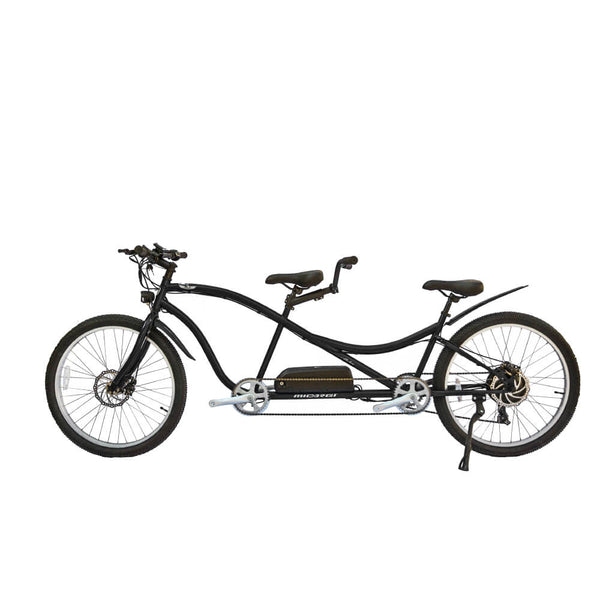
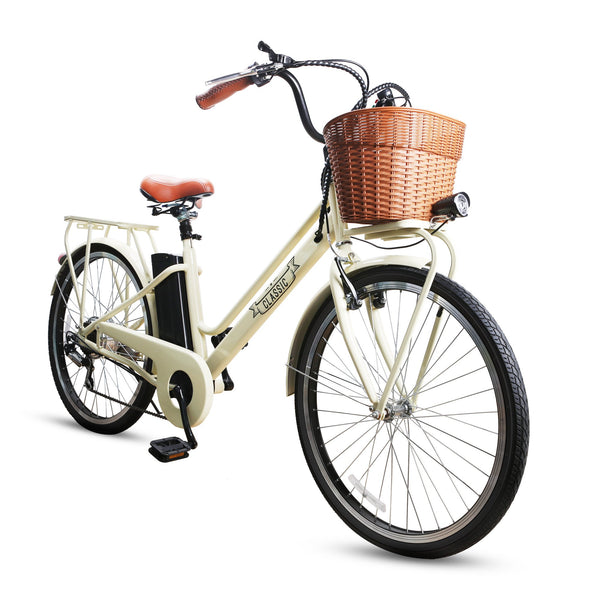
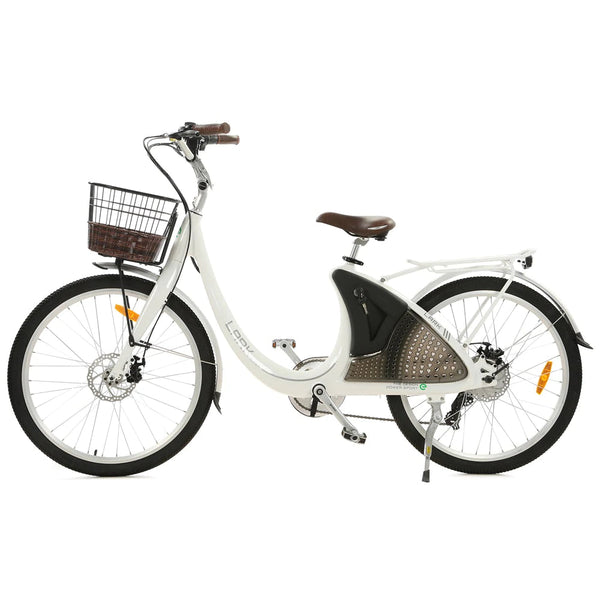
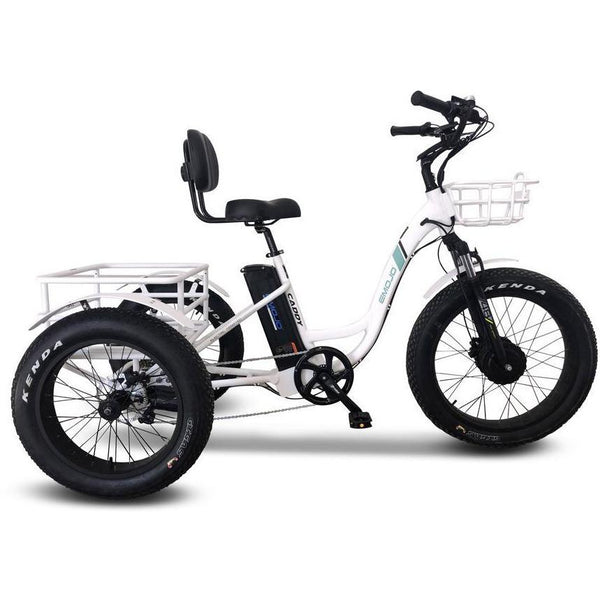
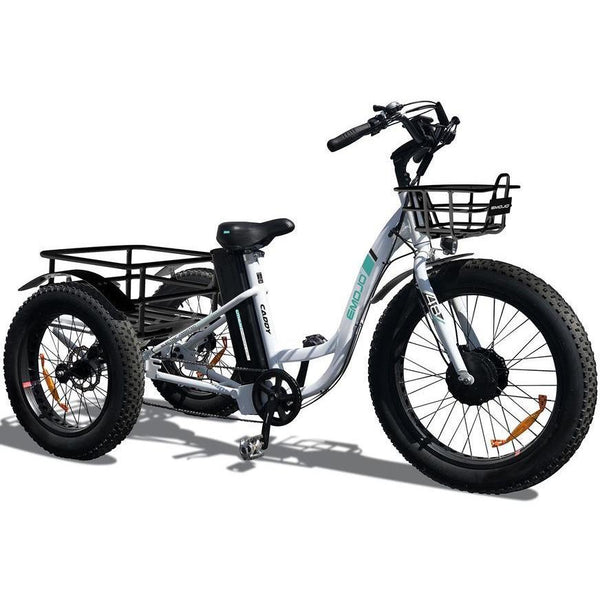
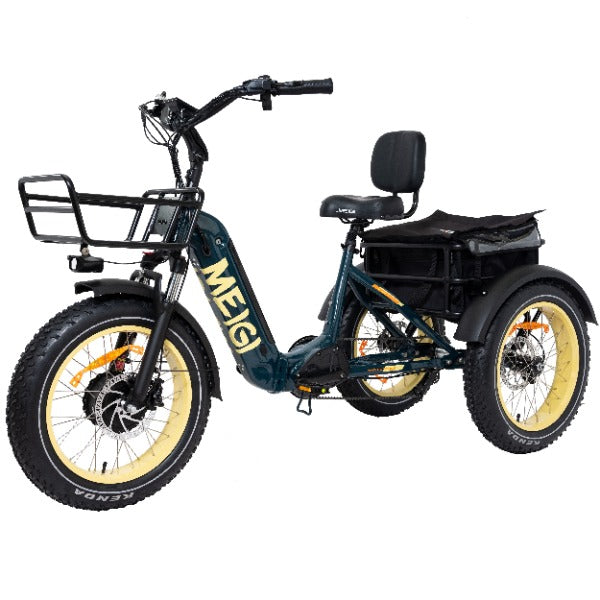
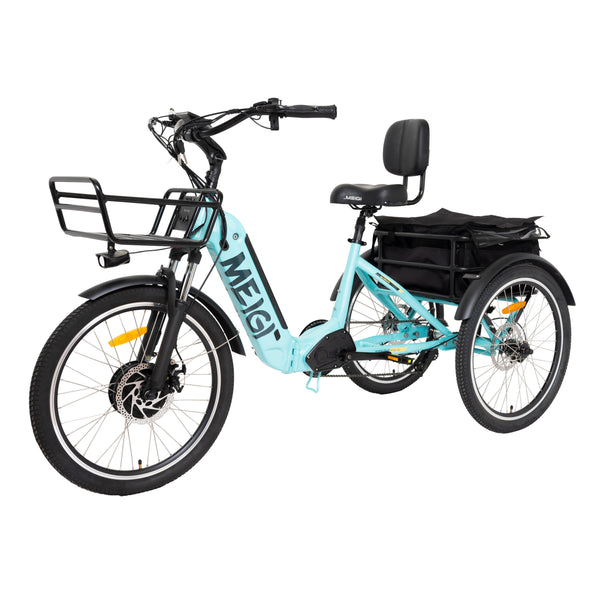
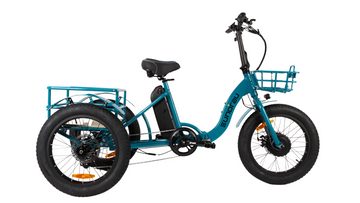
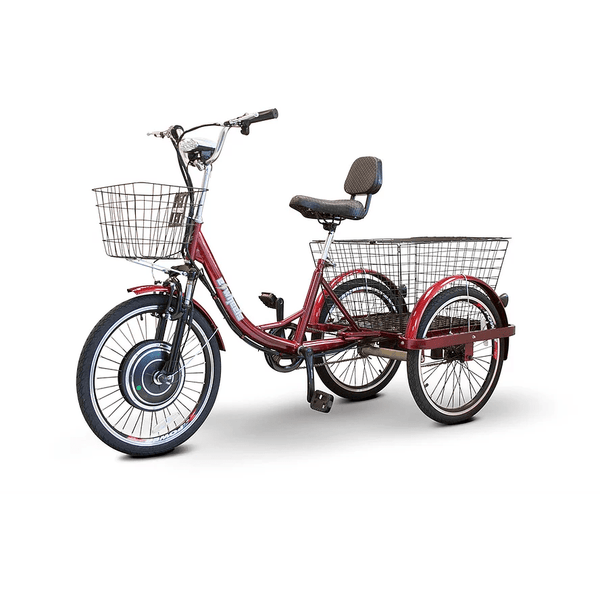
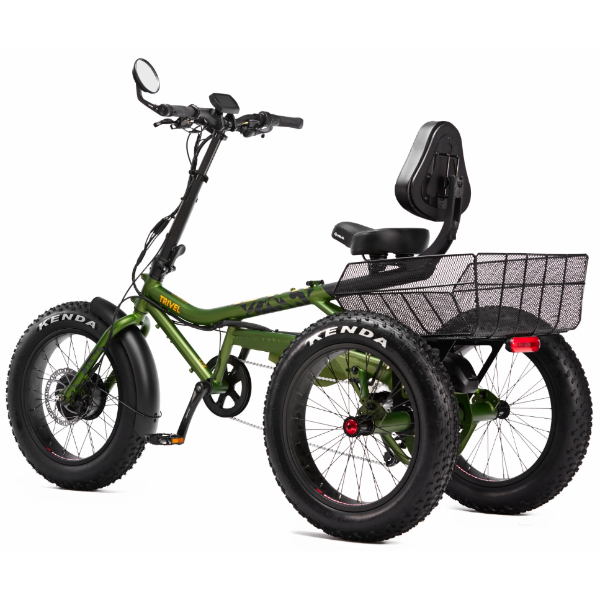
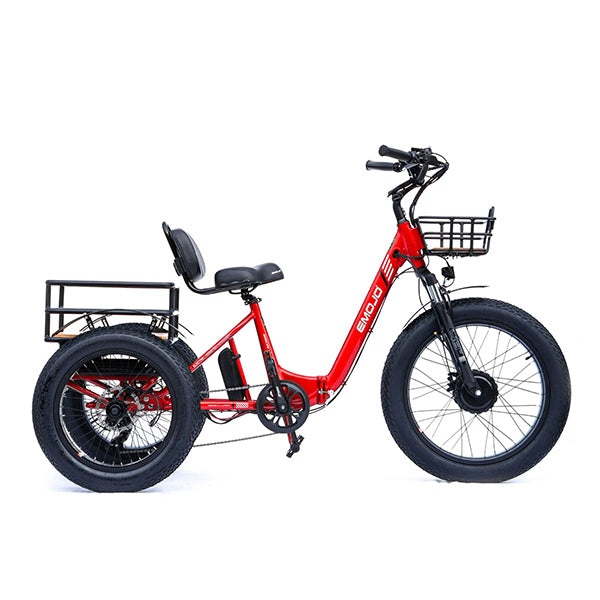
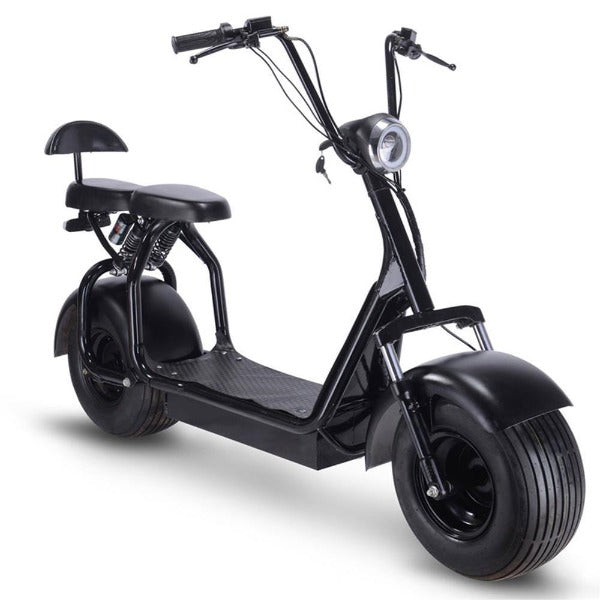
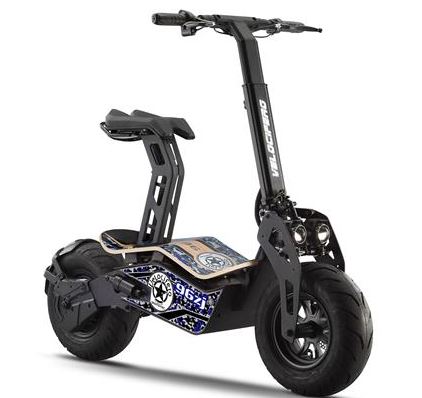
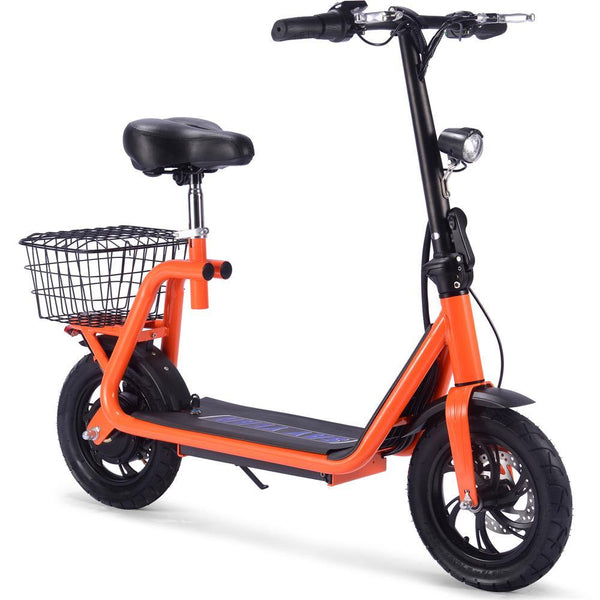
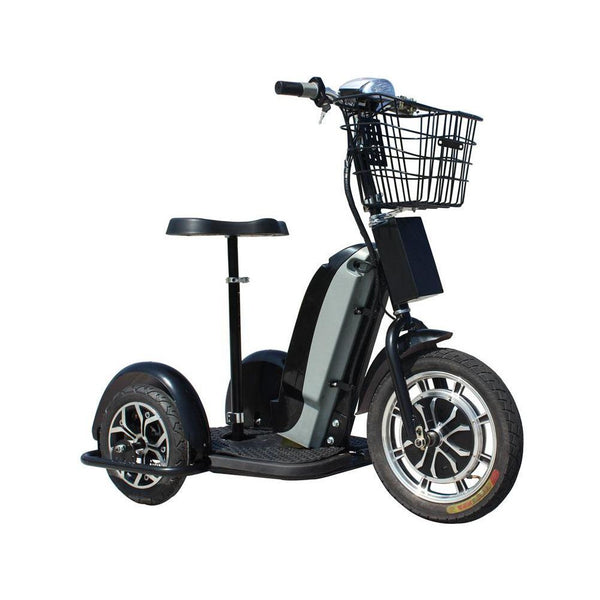
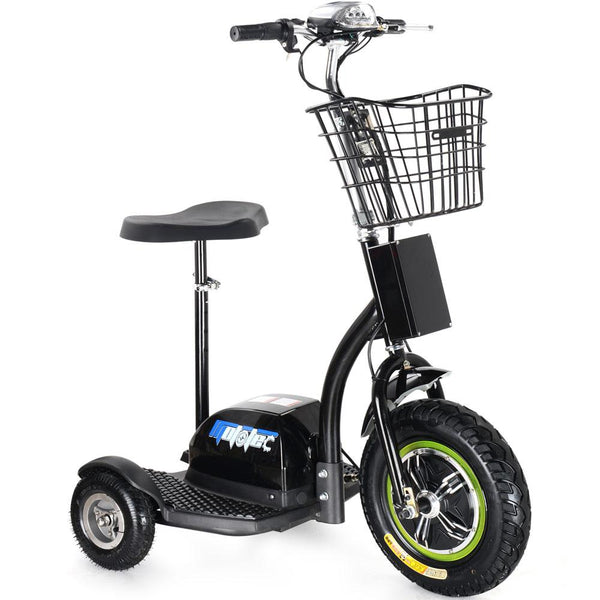
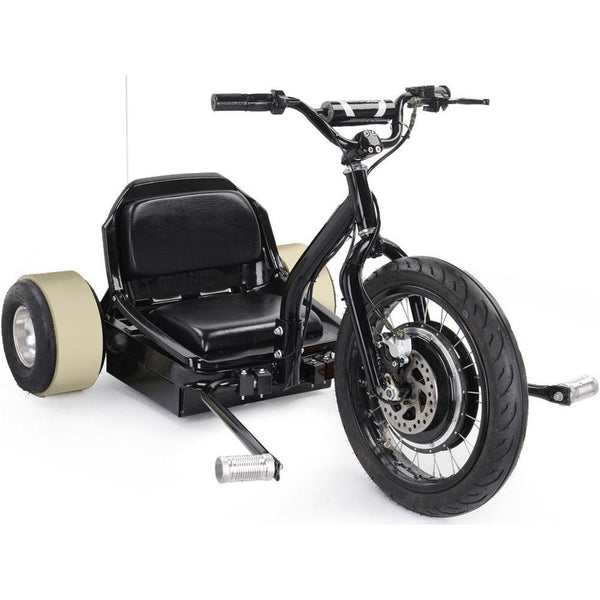
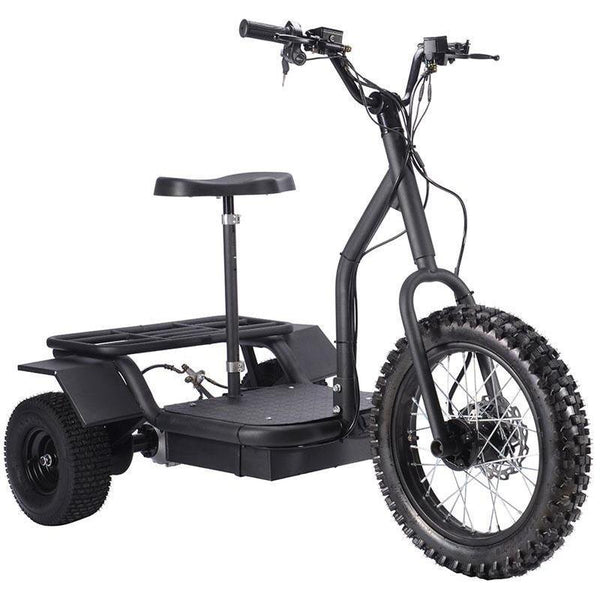
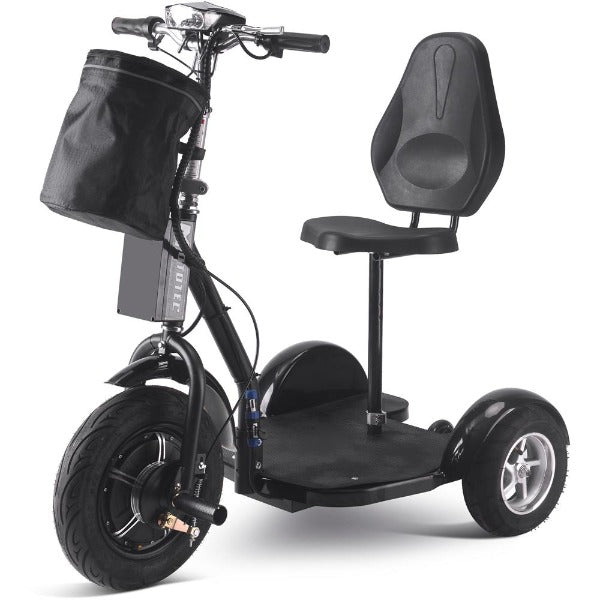
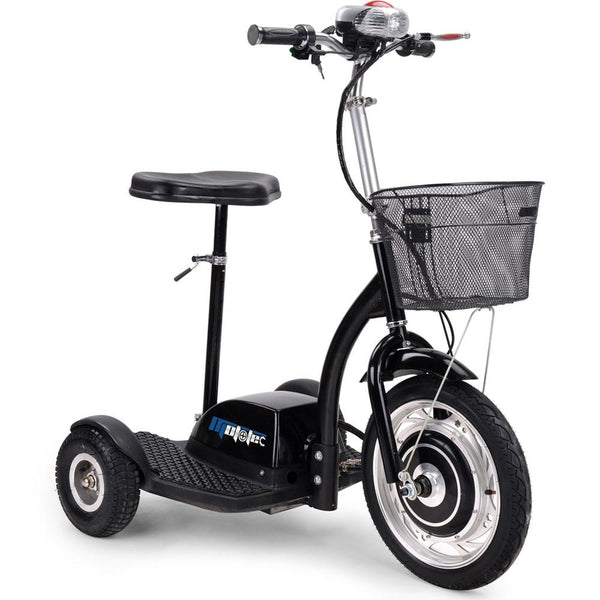
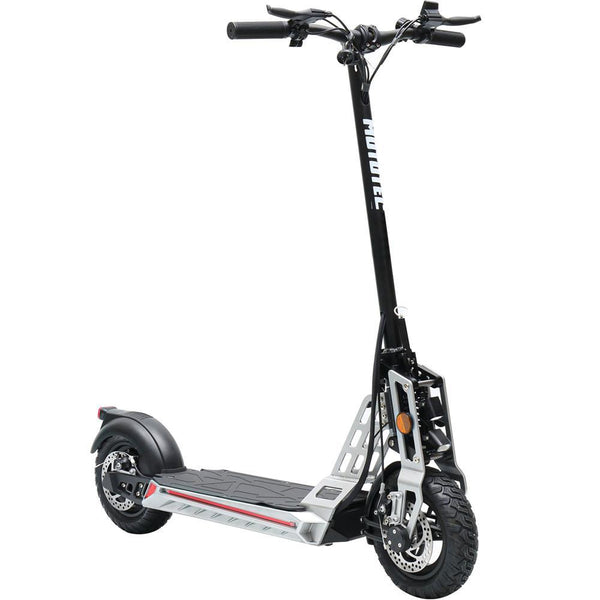
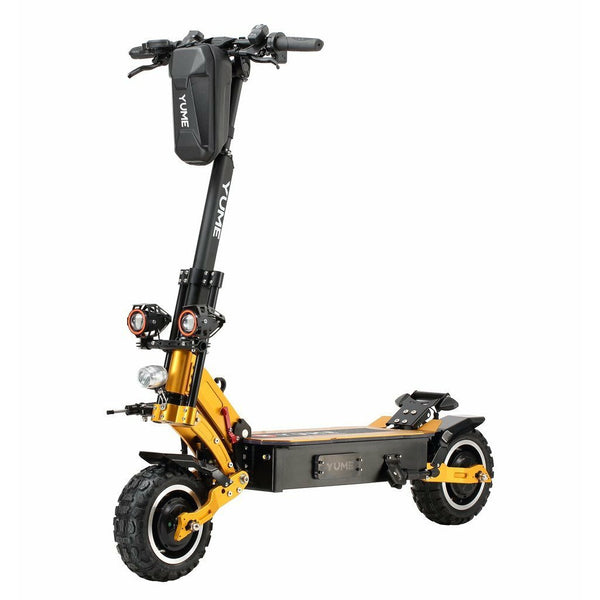
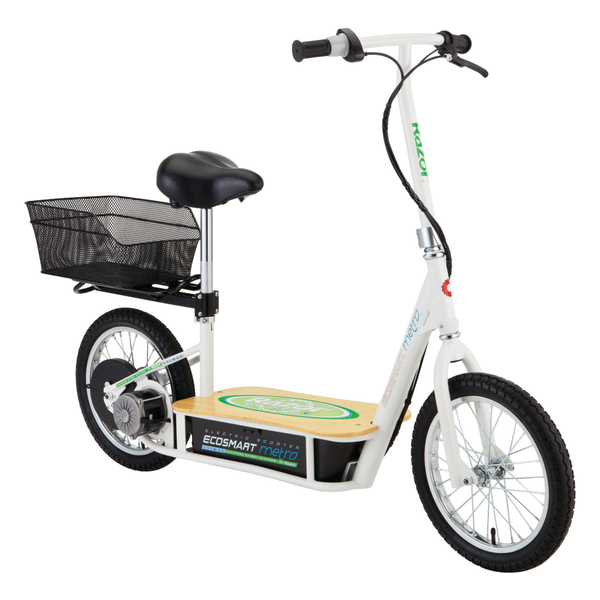
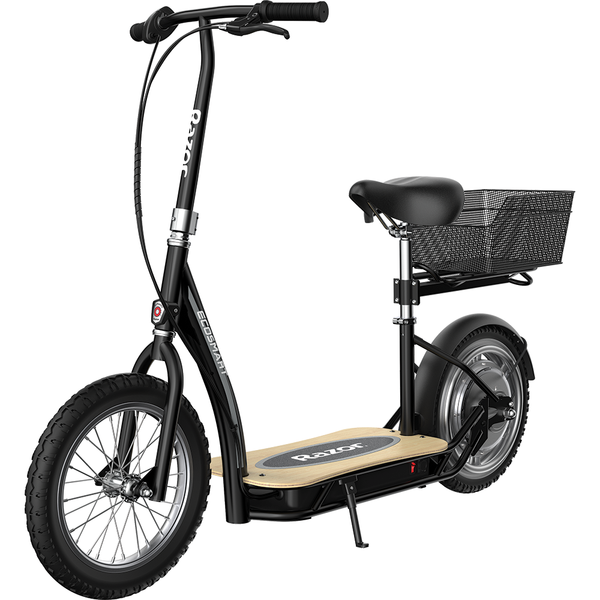
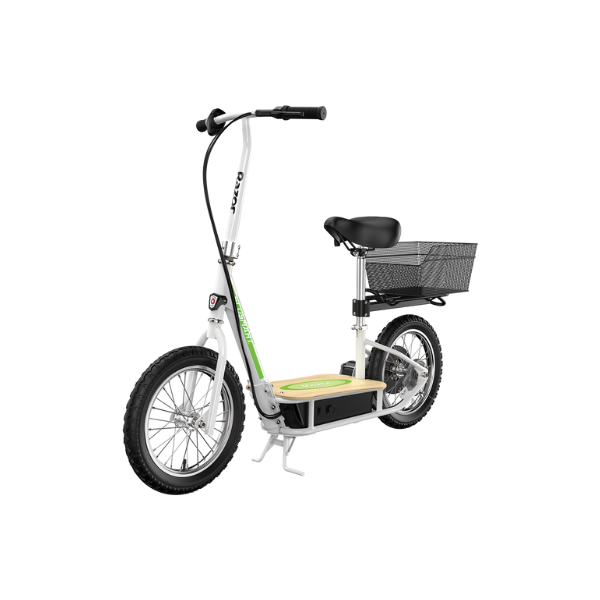
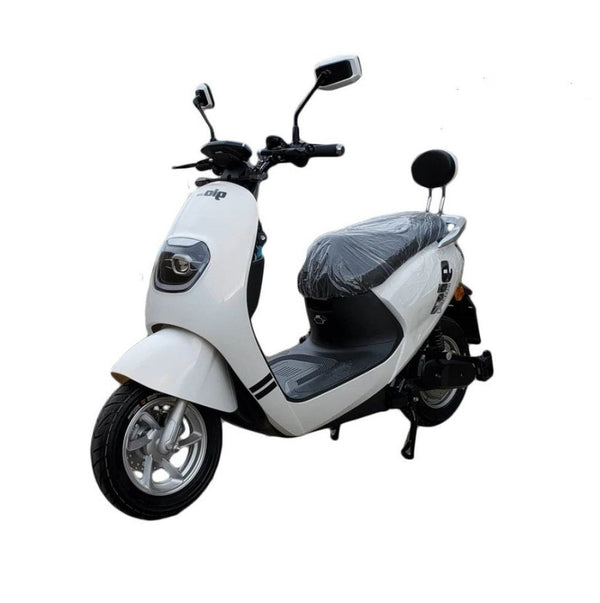
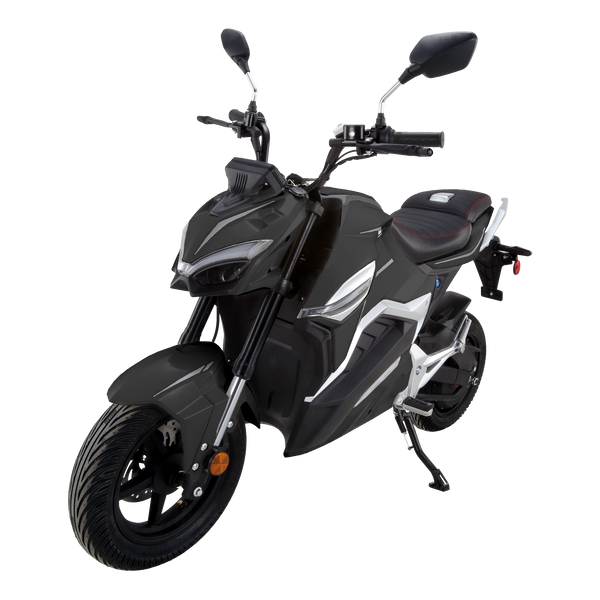
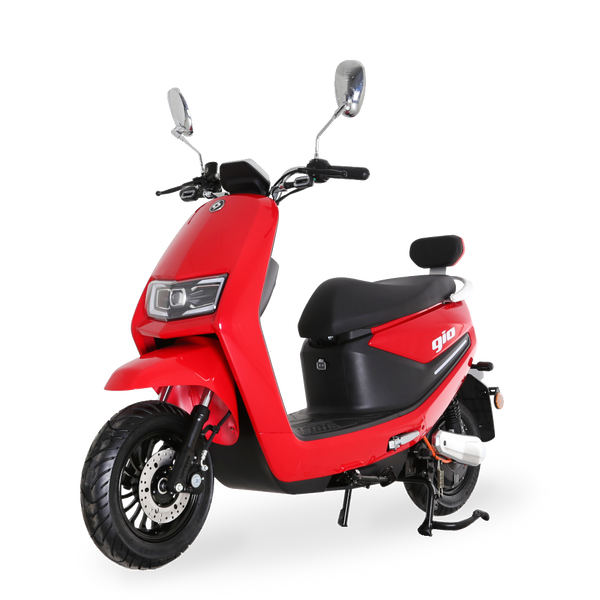
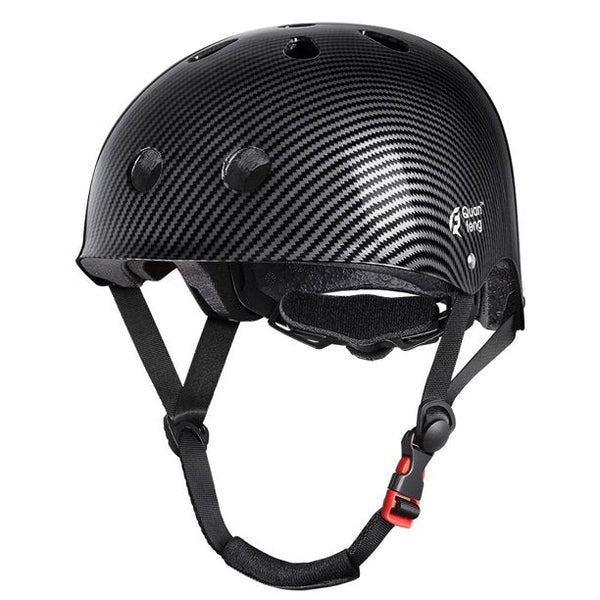
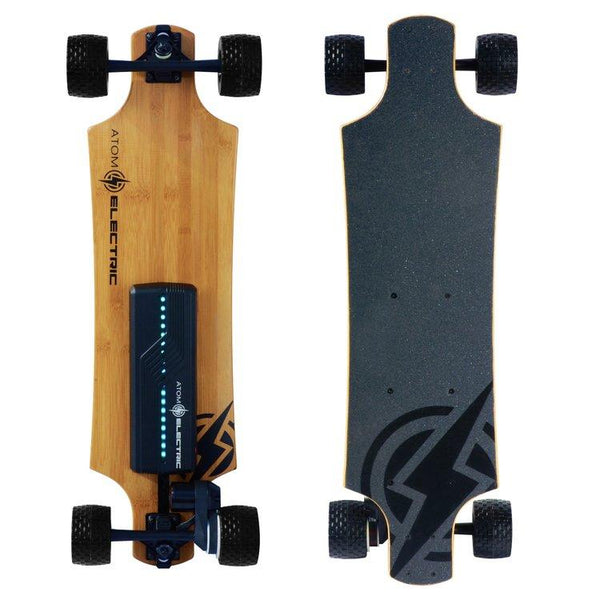
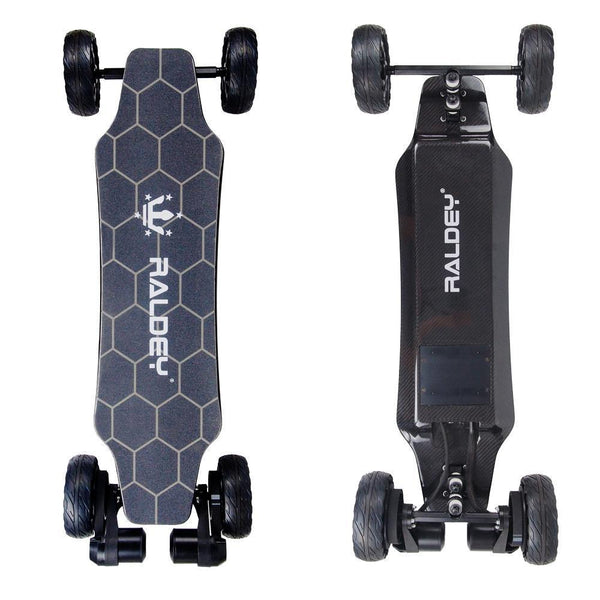
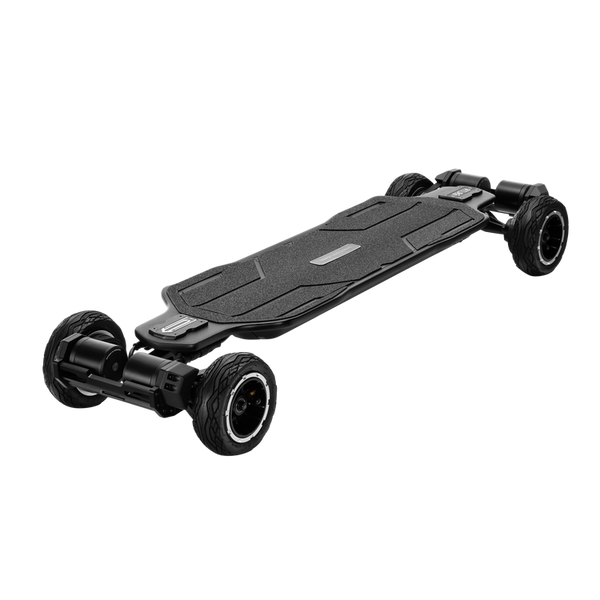
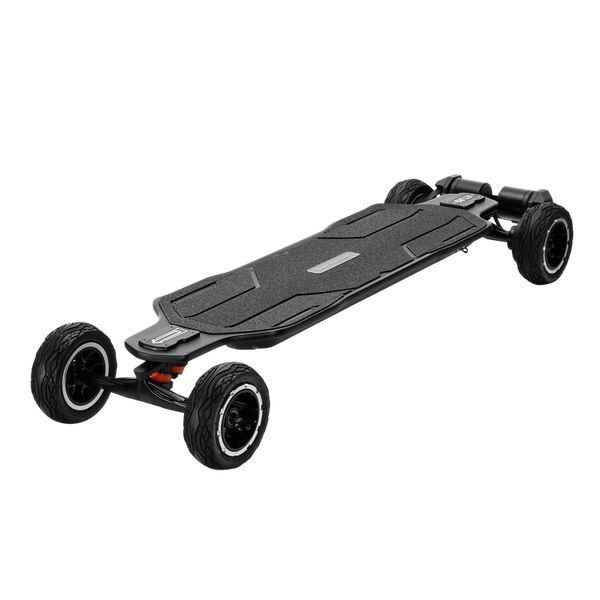
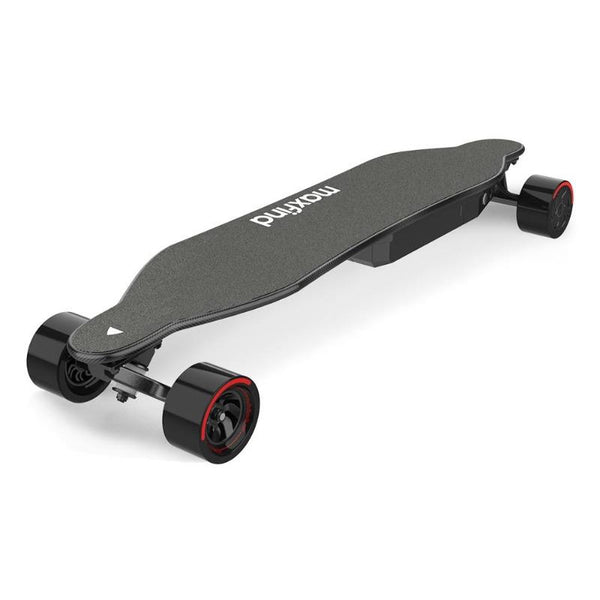
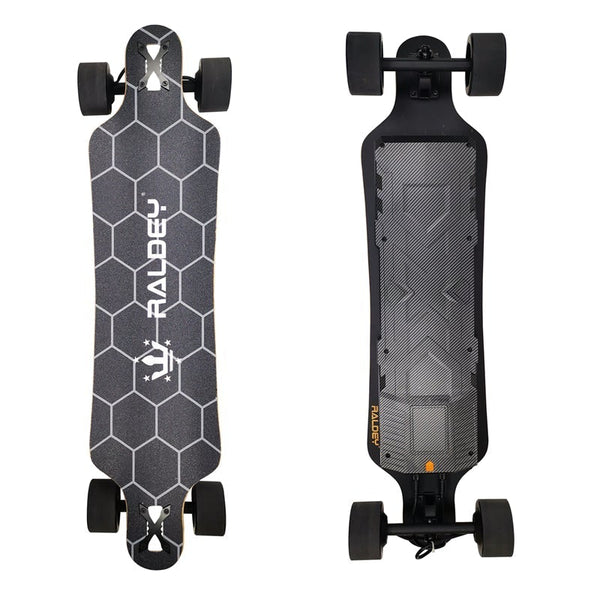
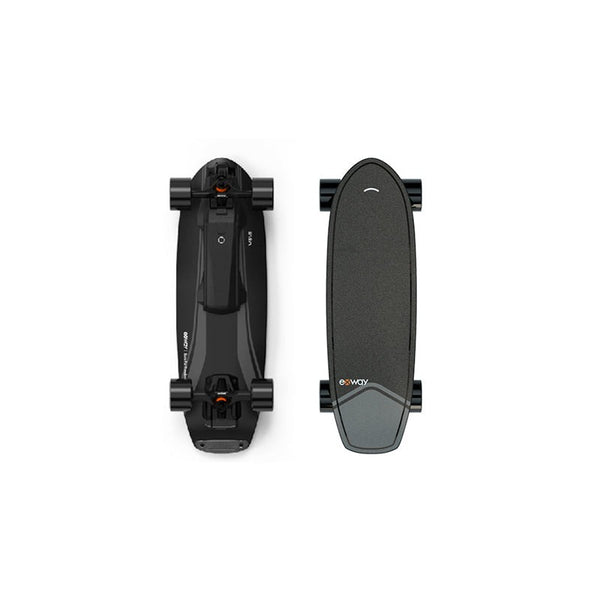
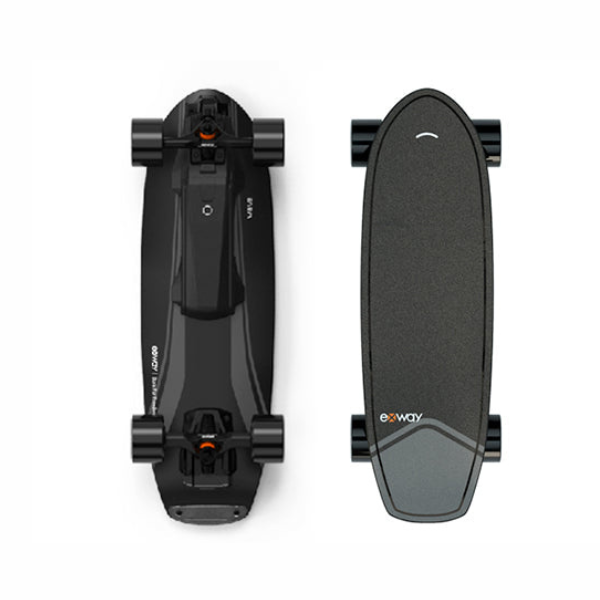
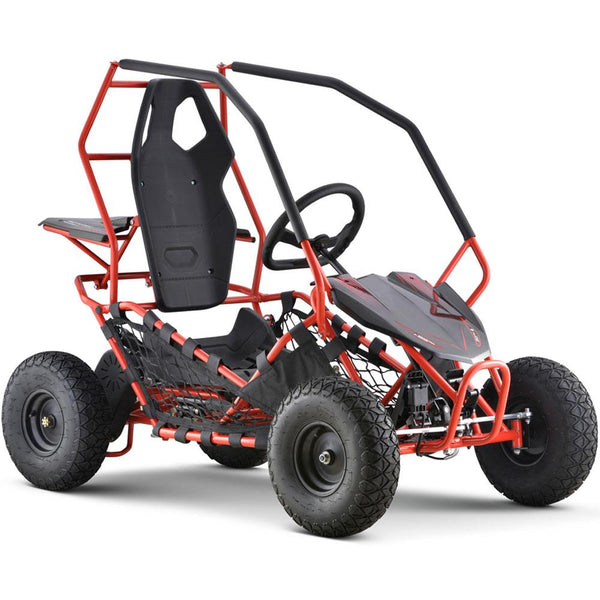
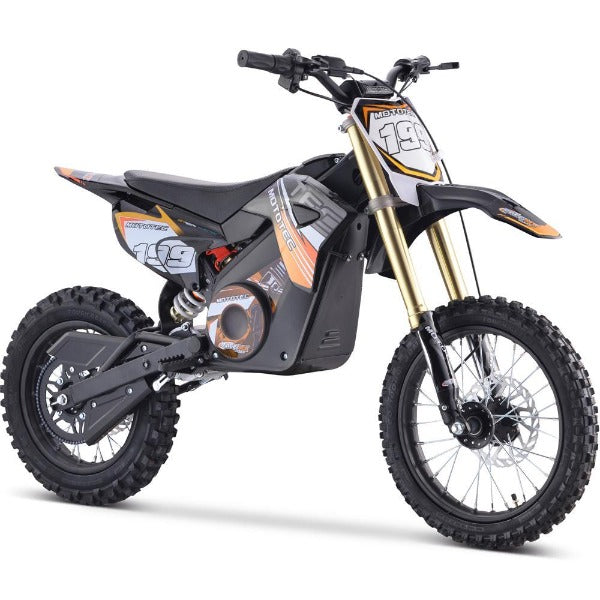
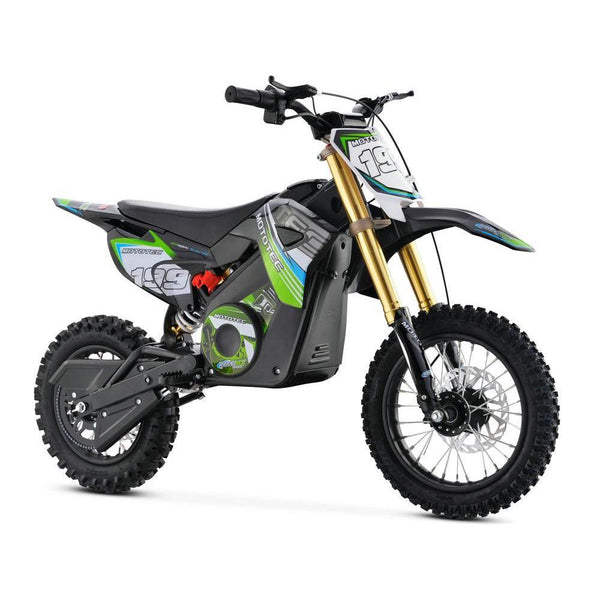
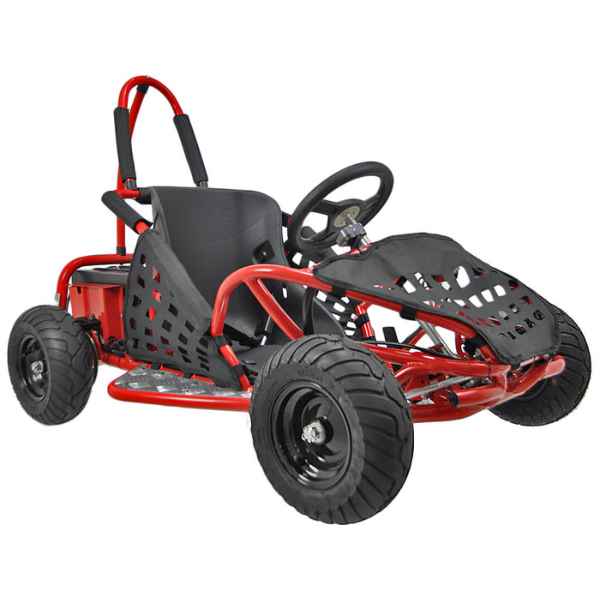
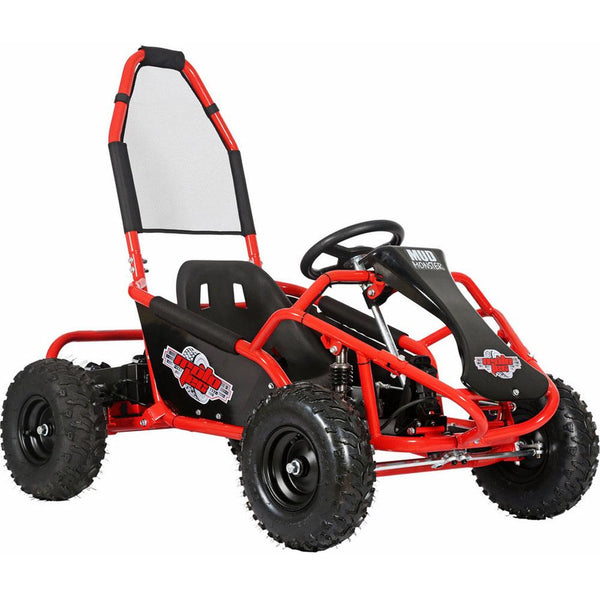
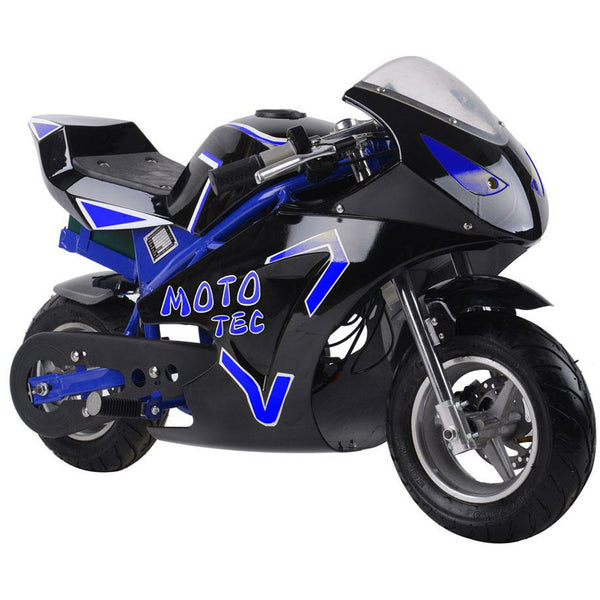
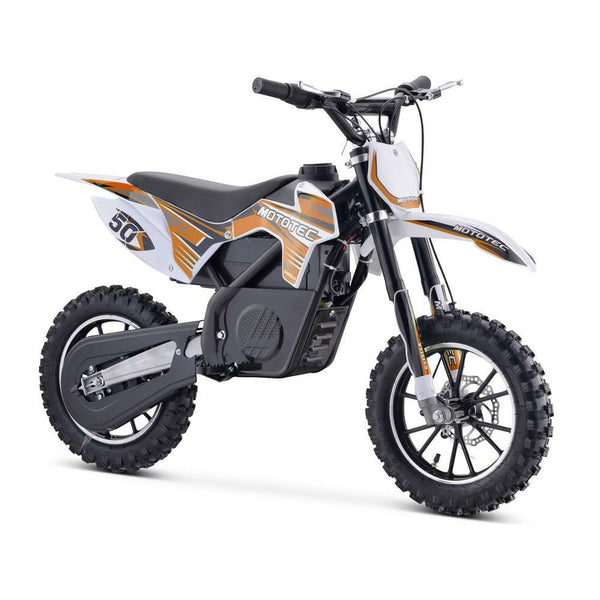
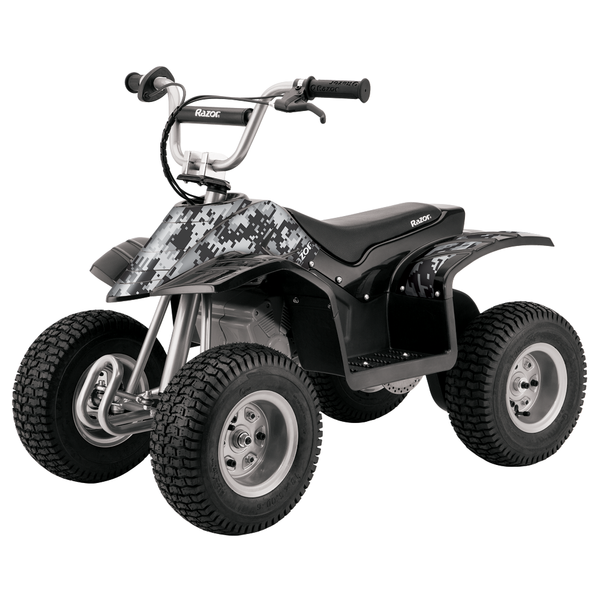
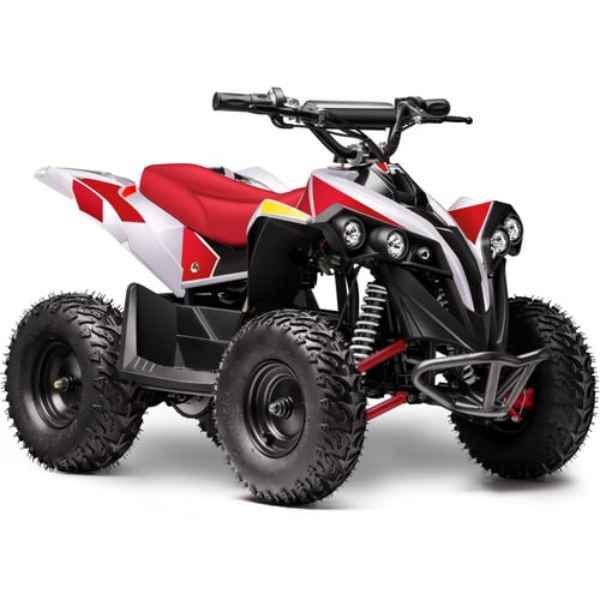
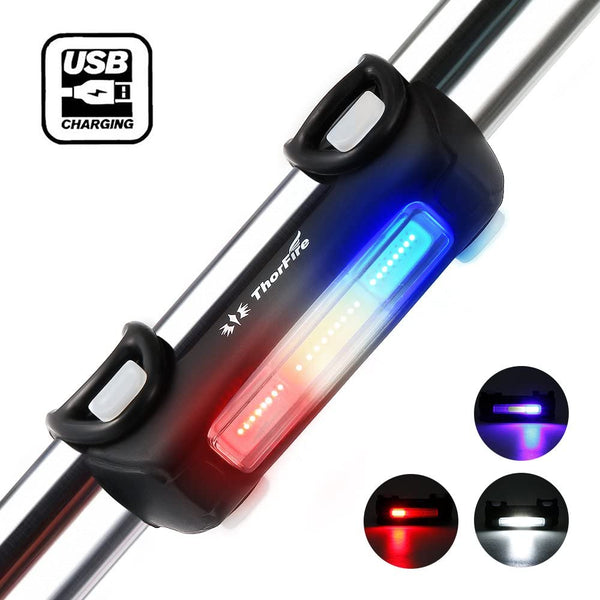
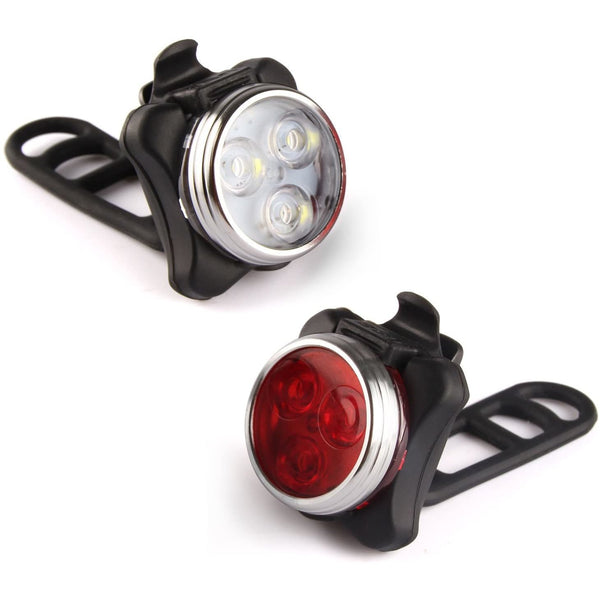
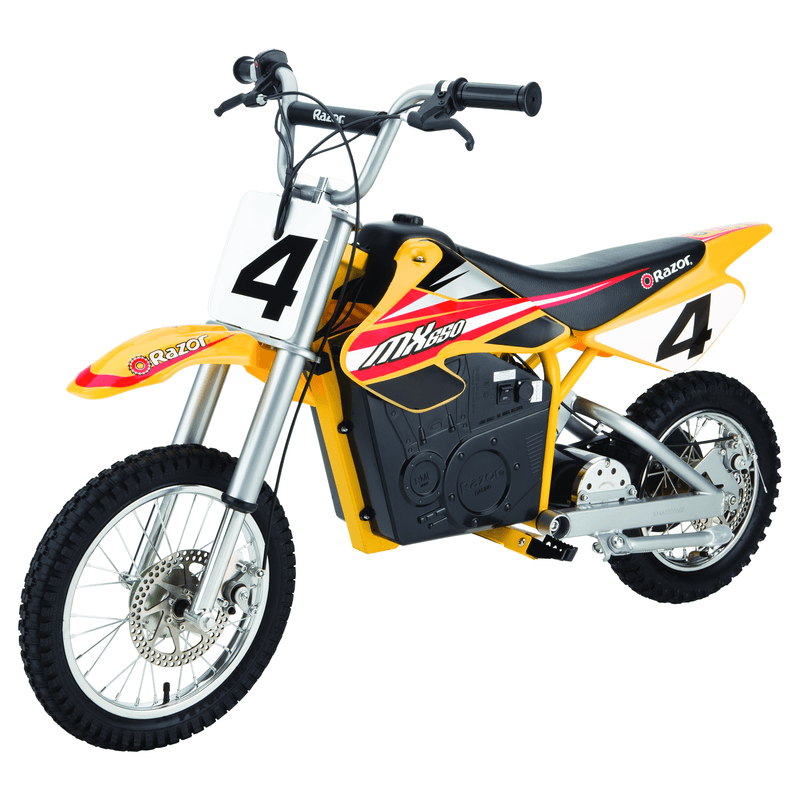
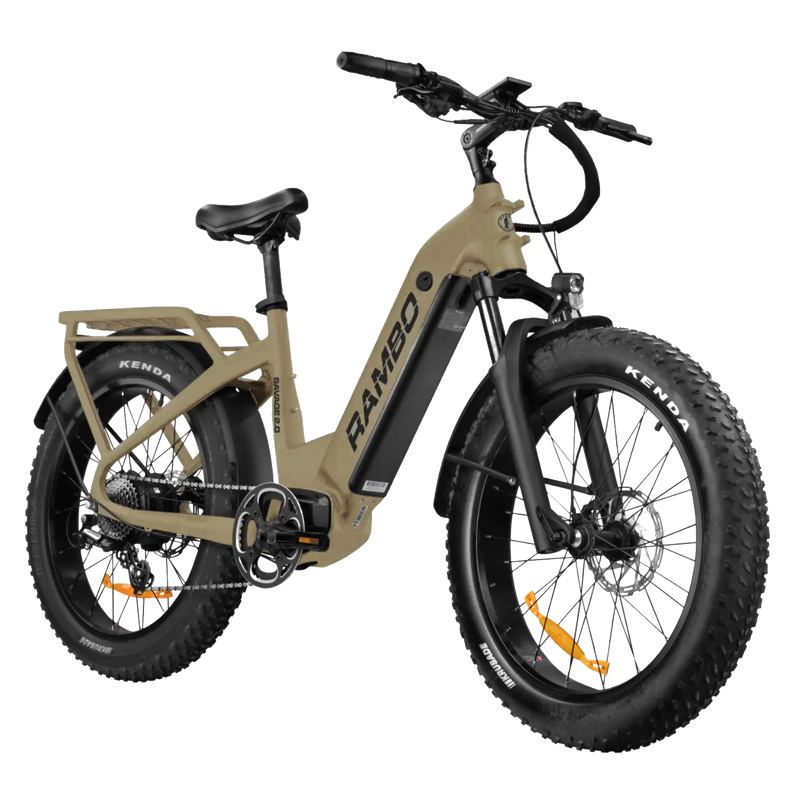
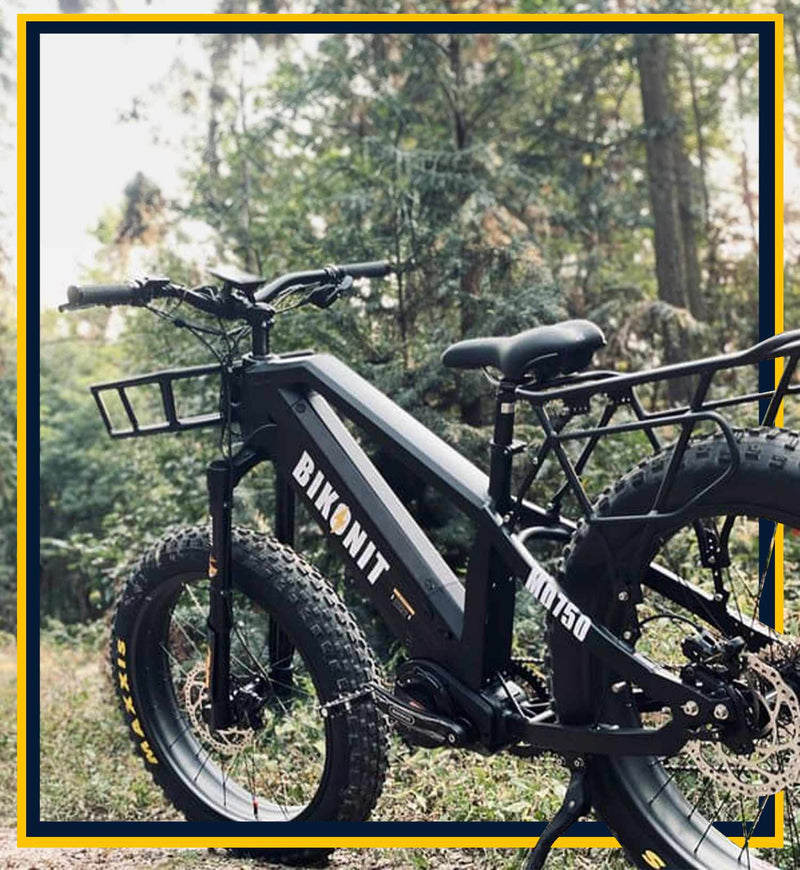
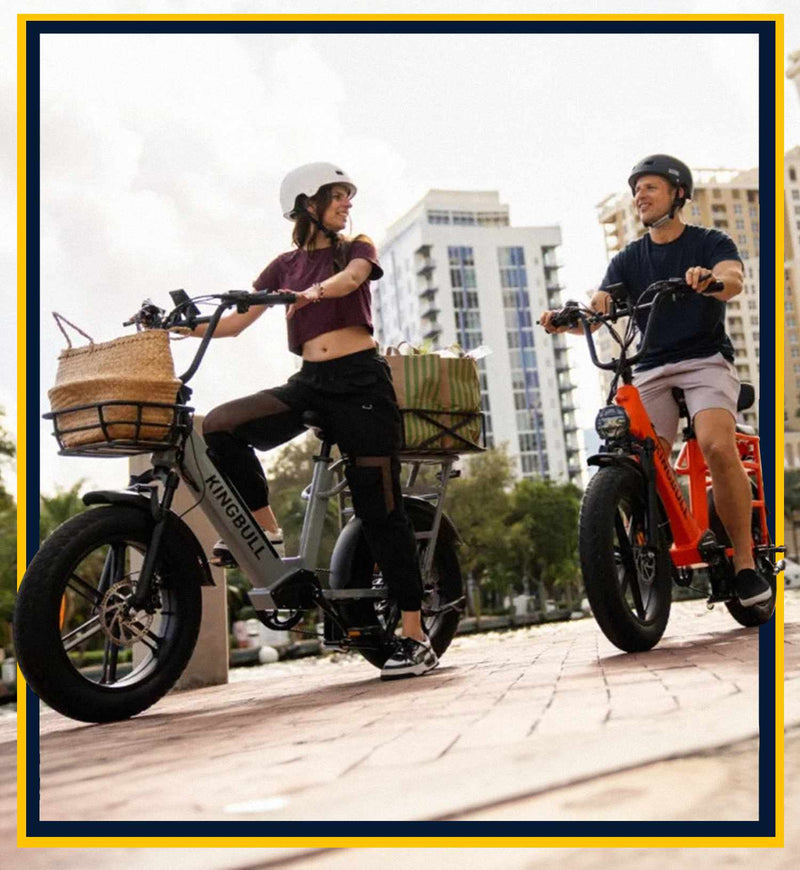
Meet Our Best-Sellers


Need Help Finding Your Dream Ride?
Take our Ebike Finder Quiz to get personalized recommendations and find the best electric ride for you.
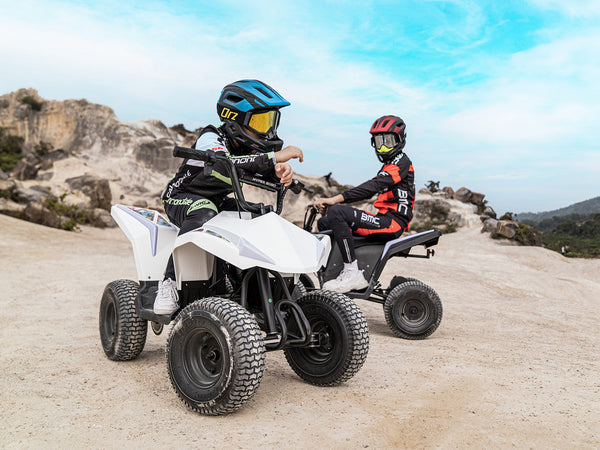
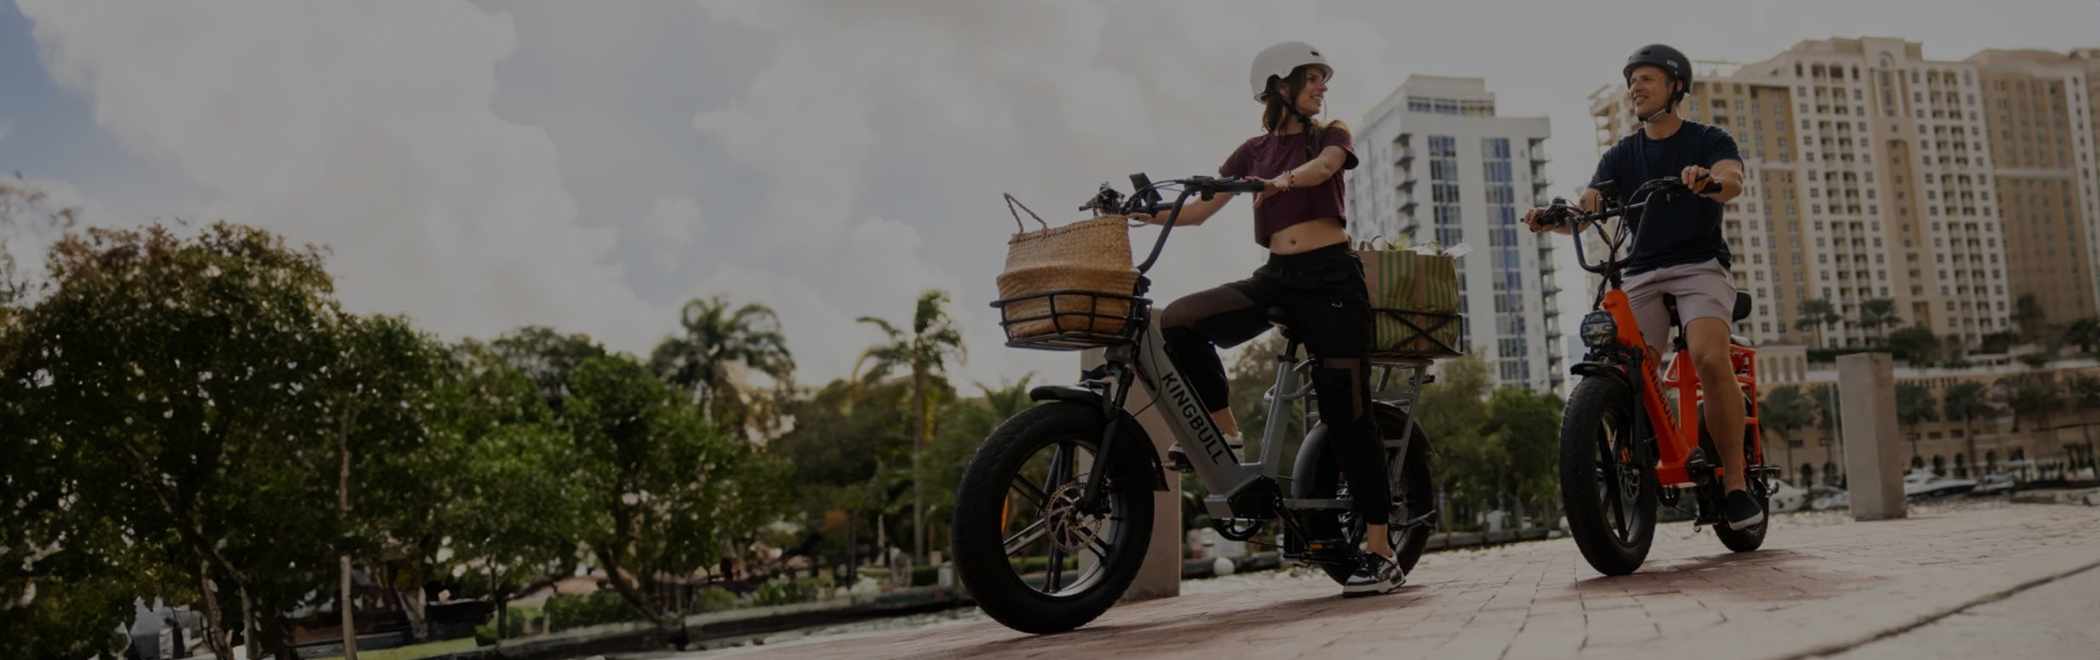
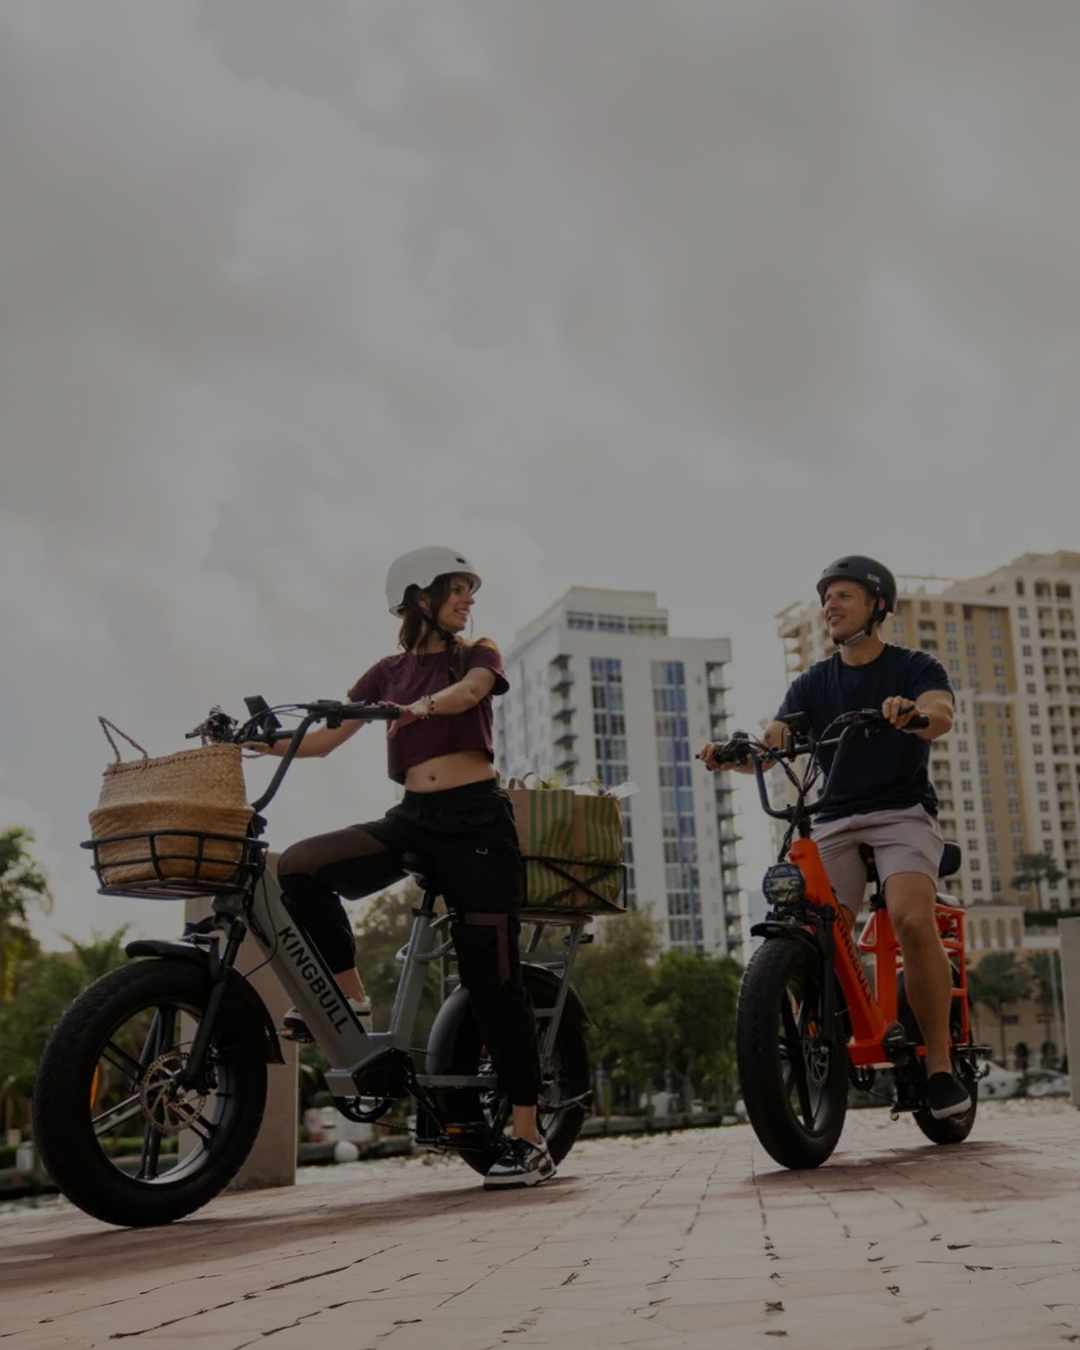
GET STARTEDA Style for Every Rider
Over 4800+ People Love Their Electric Ride
See what they have to say about Electric Bike Paradise.
Let customers speak for us
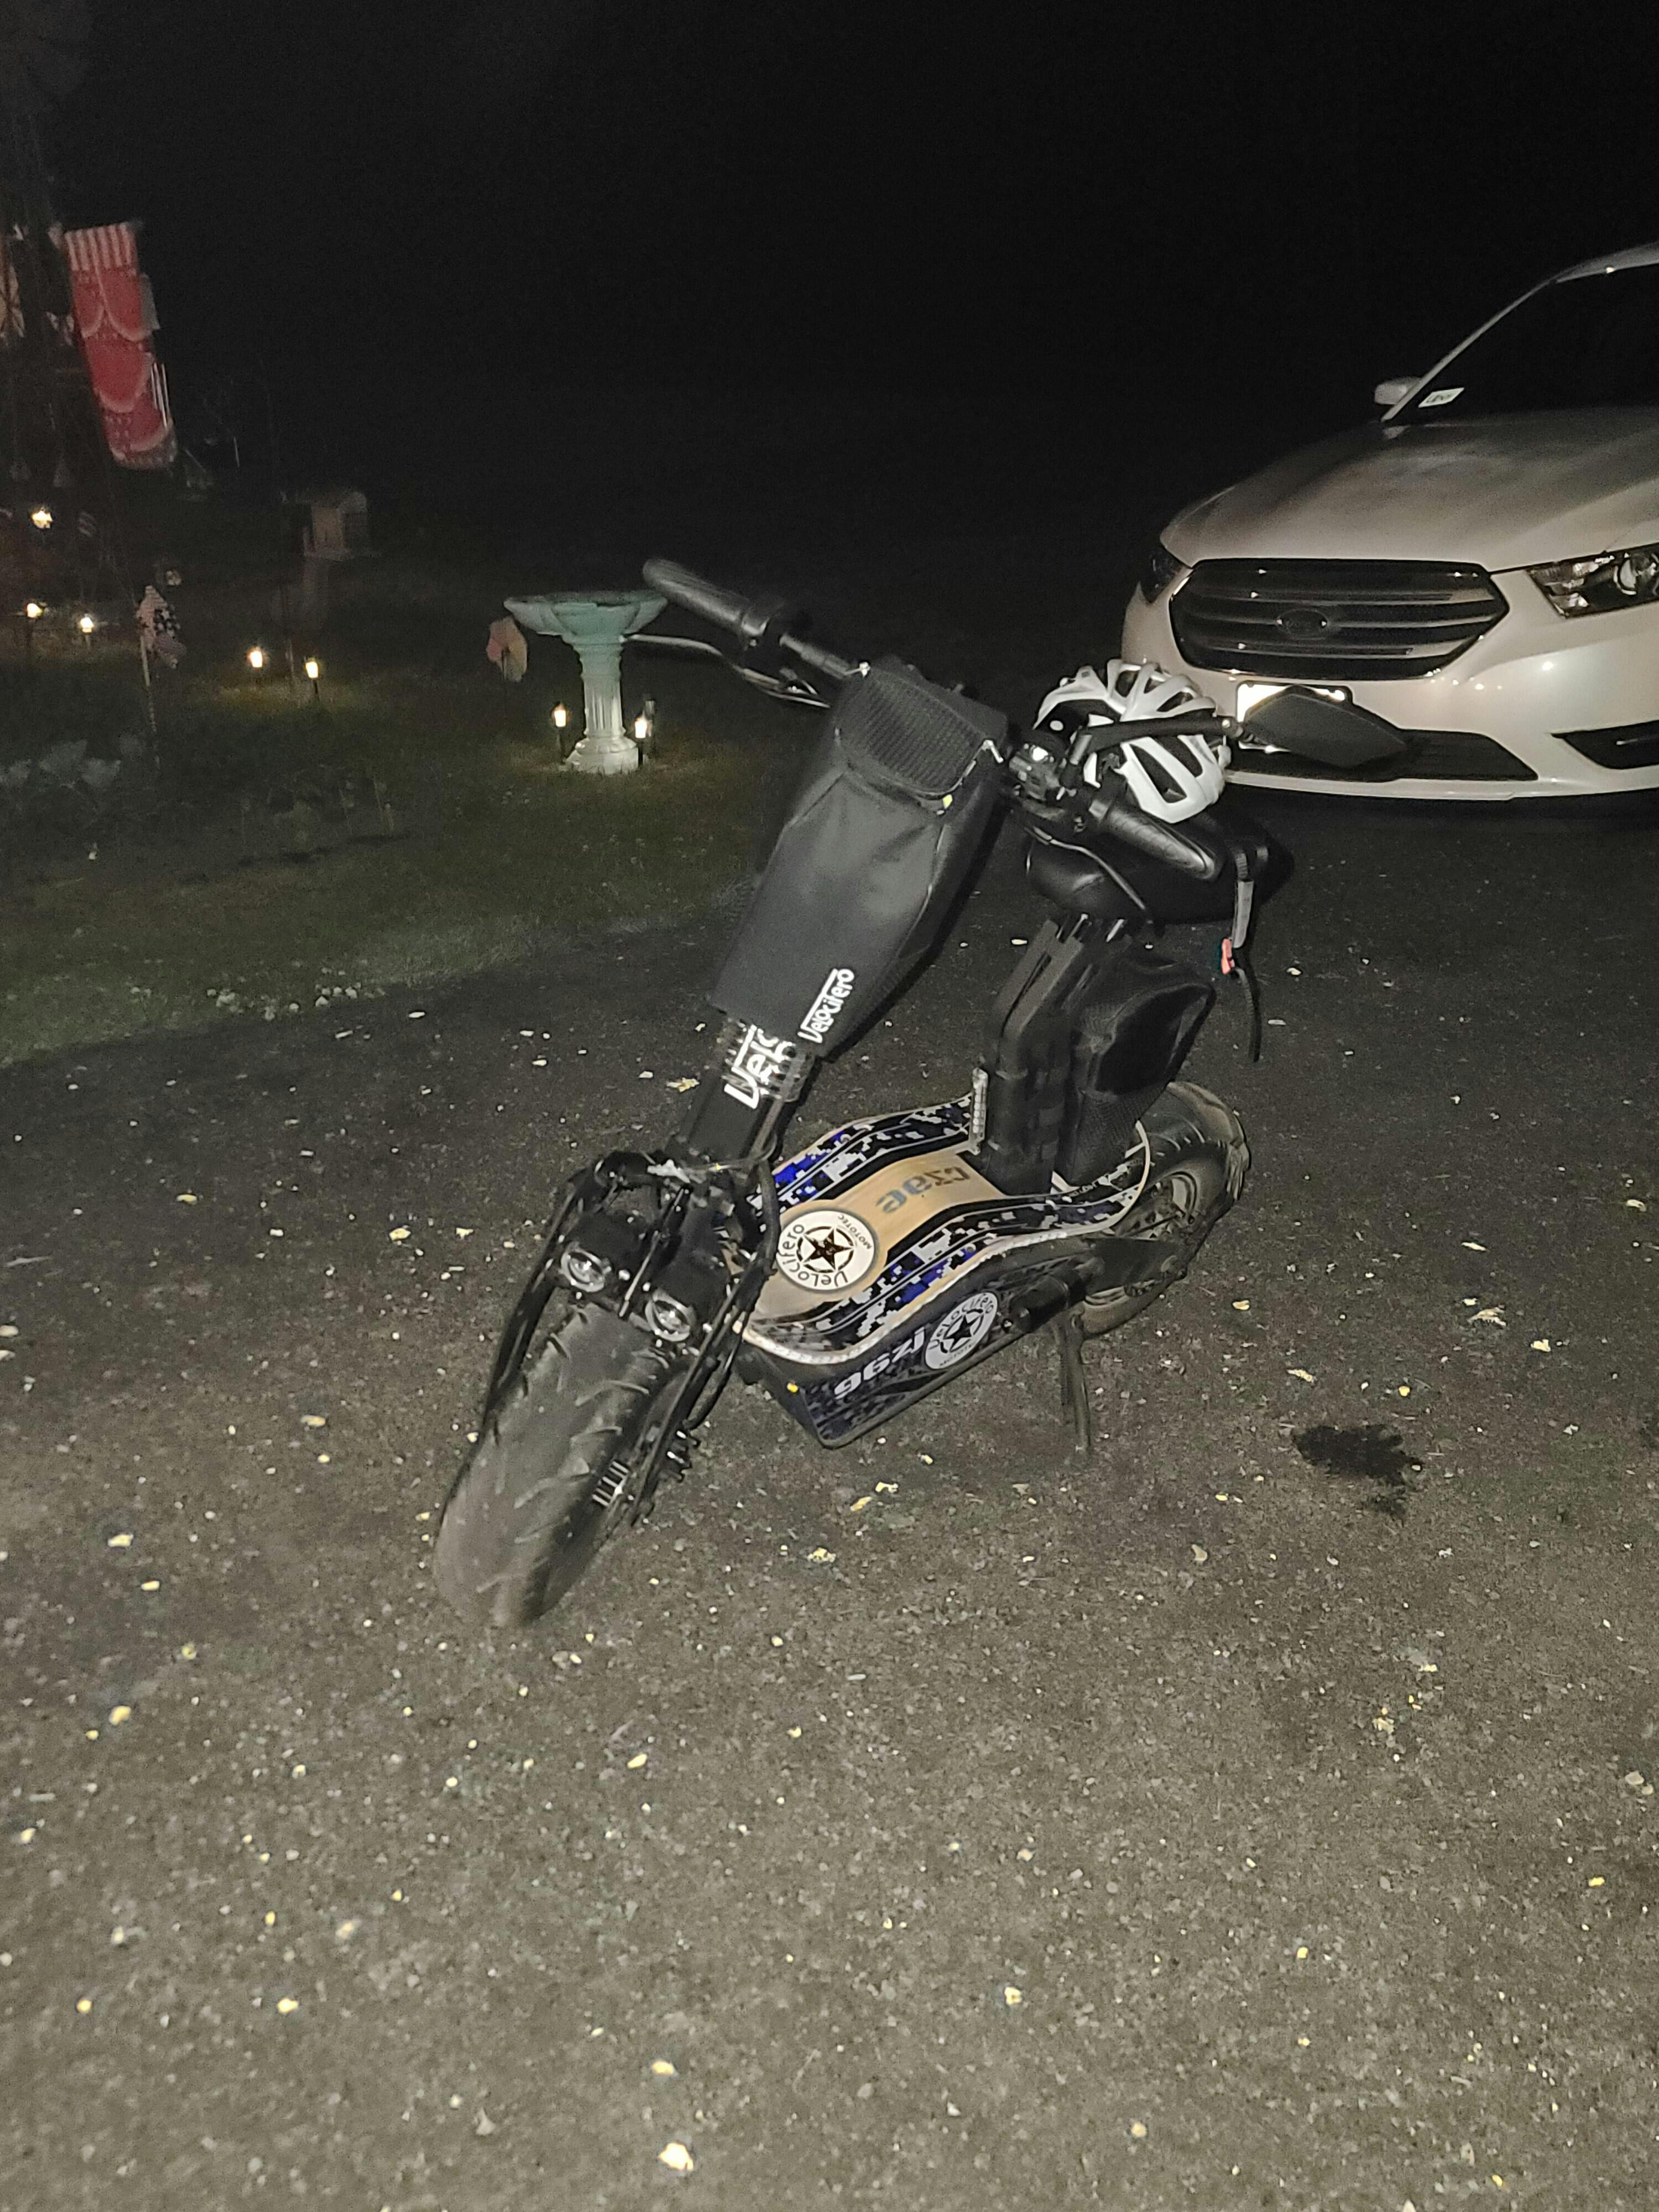
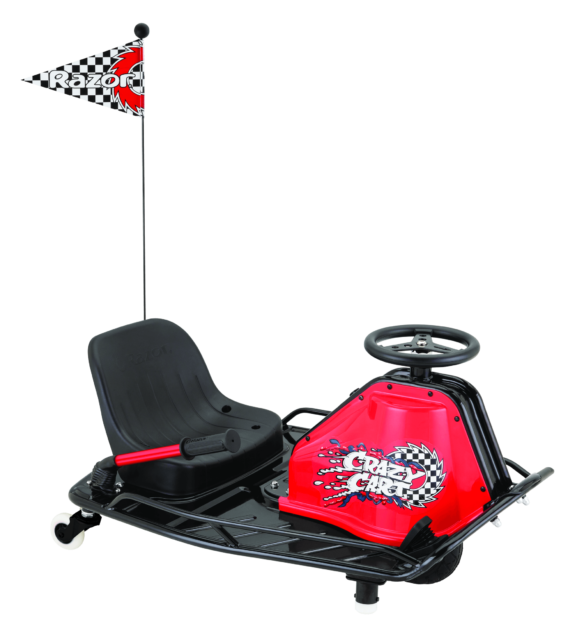
It's gotta have rode 4 3 hrs still on full. Bad ass scooters.

I recommend for adults and kids is super good and easy buy for Electric paradise

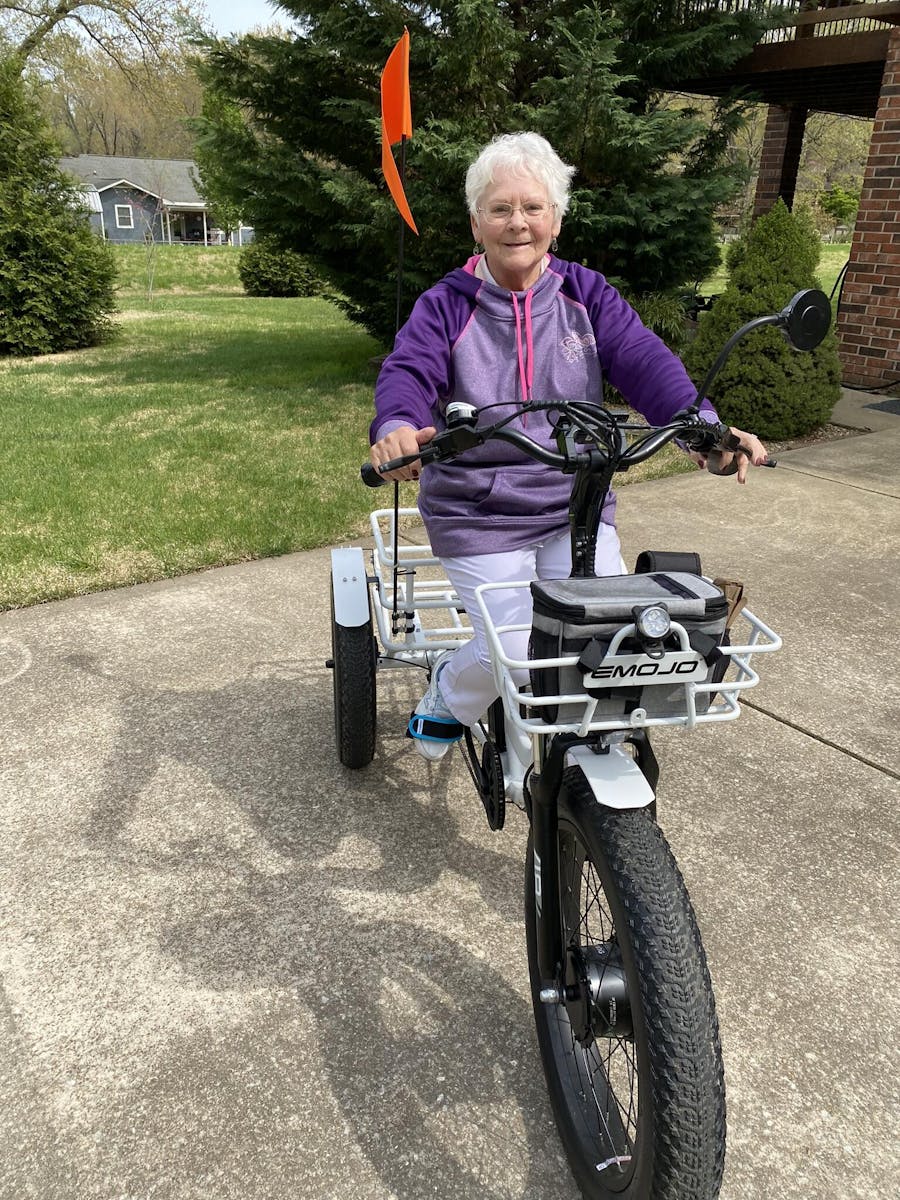
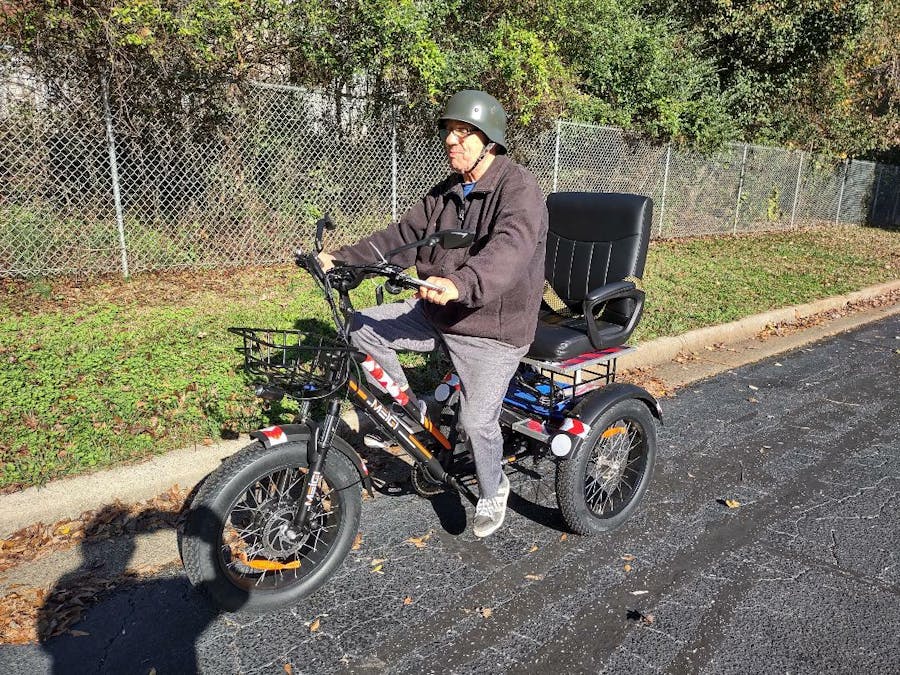
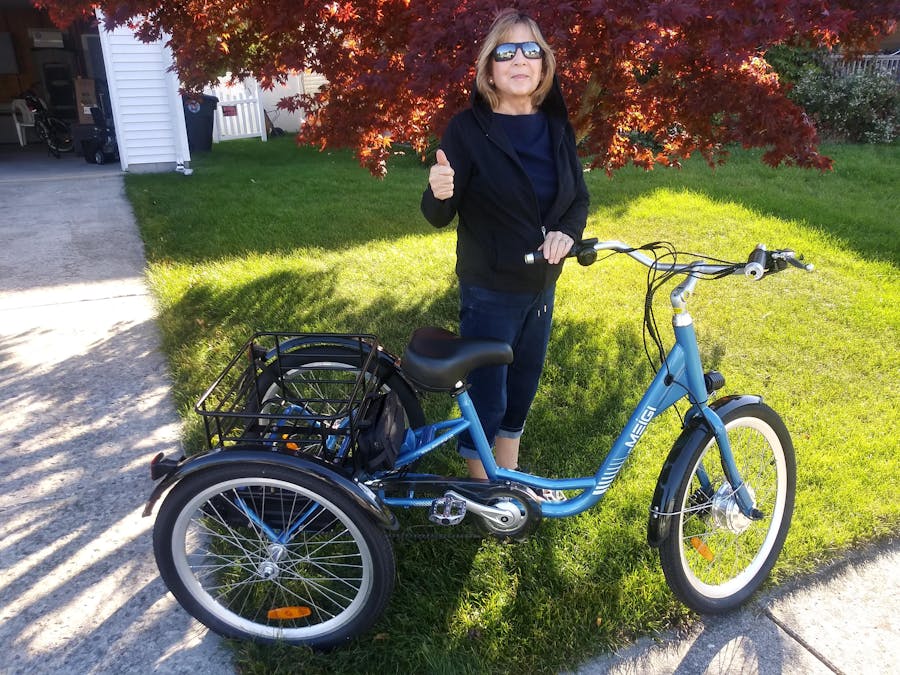
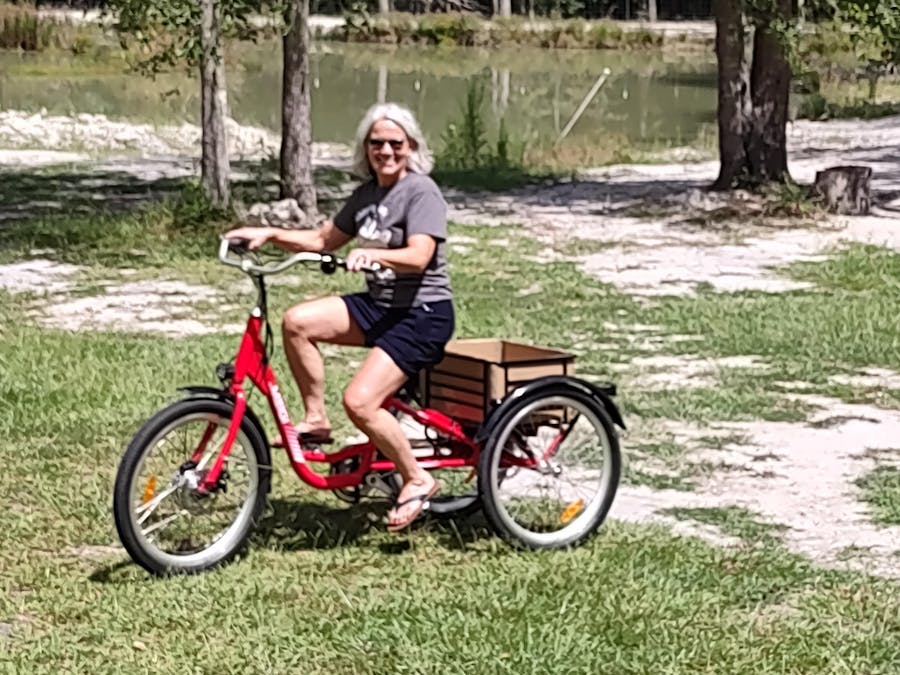
Electric Bike Paradise were great to deal with . Best price of this and comparable models, and helpful assembly video and advice as needed. The 1703-Tryke is perfect for the use that we intended if for, and enjoyable to ride, and transport stuff that would be impossible on my electric bicycle.

OH YES !!! Put it together , Thanks to CHINA , it was almost assembled by the factory THANK YOU to ELECTRIC BIKE PARADISE for help and prompt and GREAT SERVICE .
Wonderful , Strong and Powerful Tricycle ......GOOD , FUN ,NO GAS SMELL,NO CHANGE OIL , NO INSURANCE , NO REGISTRATION , FREE AT LAST......
WOW !!! My Dream since I was in elementary school , NOW , Automotive Engineer , TO HAVE AN ELECTRIC VEHICLE.....THANKS TO CHINA !!! , What Happen U.S.AMERICA ??? , In 1920 We have Had more electric cars than Gasoline ....
I got my tricycle , put together , in 2 hours , most was already assembled and TESTED...LOOKS GOOD , IIT IS STRONG and POWERFUL

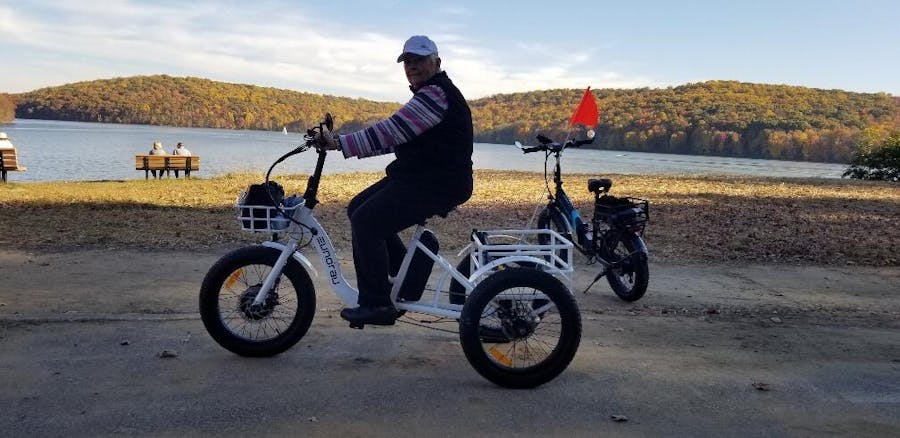
I have had 2 knee replacements & my balance isn't what it used to be so my new Eunorau trike has been the best solution,. It took some use to learn to shift gears but it is great. Looking forward to riding it in Fla at our campground this Winter.
This bike is really fast.Took a little while to get used to it,but now I am leaving my husband in the dust!Assembly was a little tricky but the video covered almost everything.There was some minor shipping damage and Meigi responded quickly with new parts.Very pleased
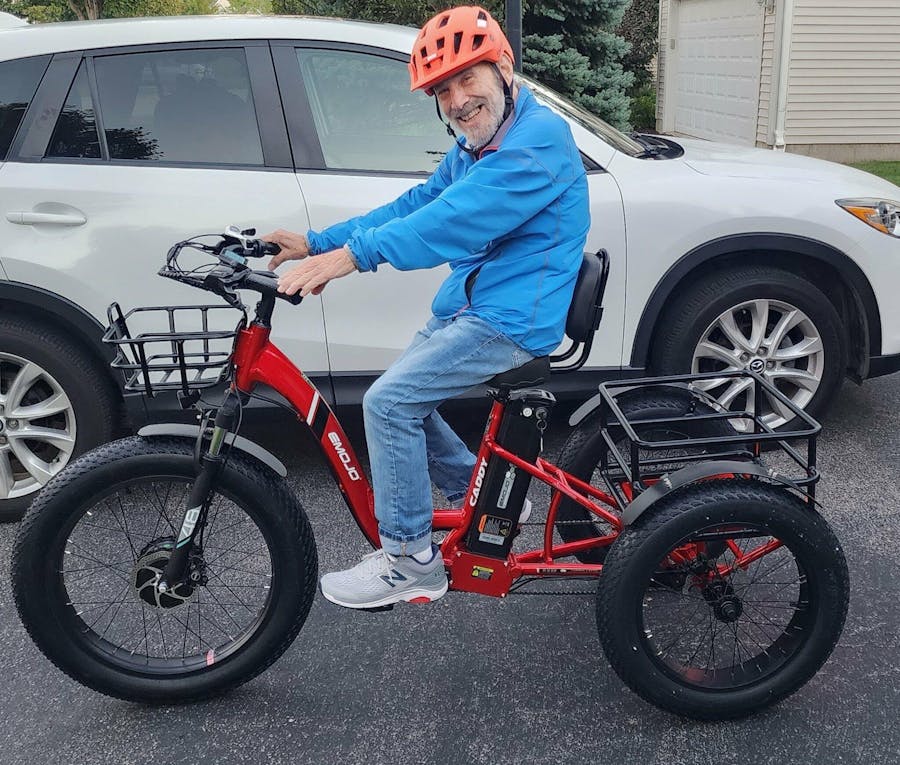
Every time I ride my Apple Red Emojo Caddy Pro my brain keeps hearing Jim Morrison (Doors) singing,"Mr Mojo Rising..." ("LA Woman"); but for me, it's "Mr E Mojo RIDING..."!
I did have some frustrating delivery issues(time, a missing battery, broken parts, replacements on back order, etc). Electric Bike Paradise Support tried to rectify but in the end, they had Emojo Bike Co Support, in Irvine, CA, directly call me. Kevin and Shahla, at Emojo Support, did a FANTASTIC JOB and WERE able to remedy ALL my concerns!
Emojo's Kevin & Shahla deserve a shout out of recognition for great customer service! Kudos to Electric Bike Paradise for having the manufacturer/distributor, Emojo Electric Bikes Support, directly communicate with me and resolve my issues (check out picture of my facsimile "BOB'S FUN" tag on rear basket). I'm now able to ride with a smile having my MOJO ELECTRIFIED!
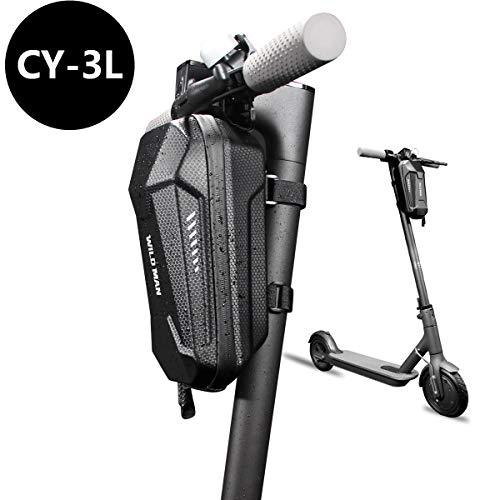
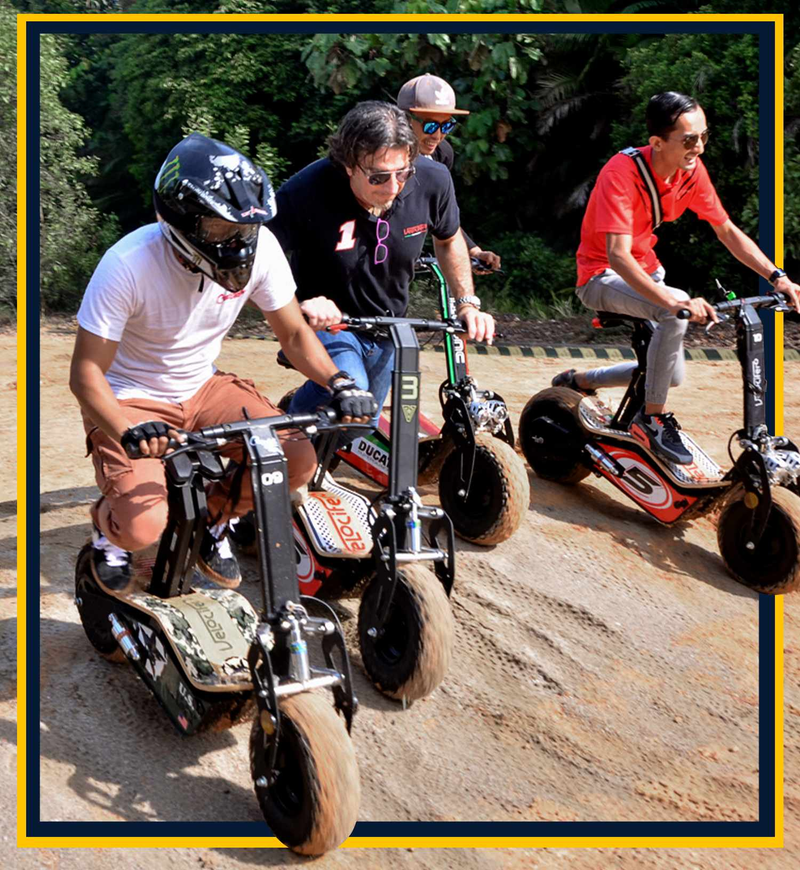
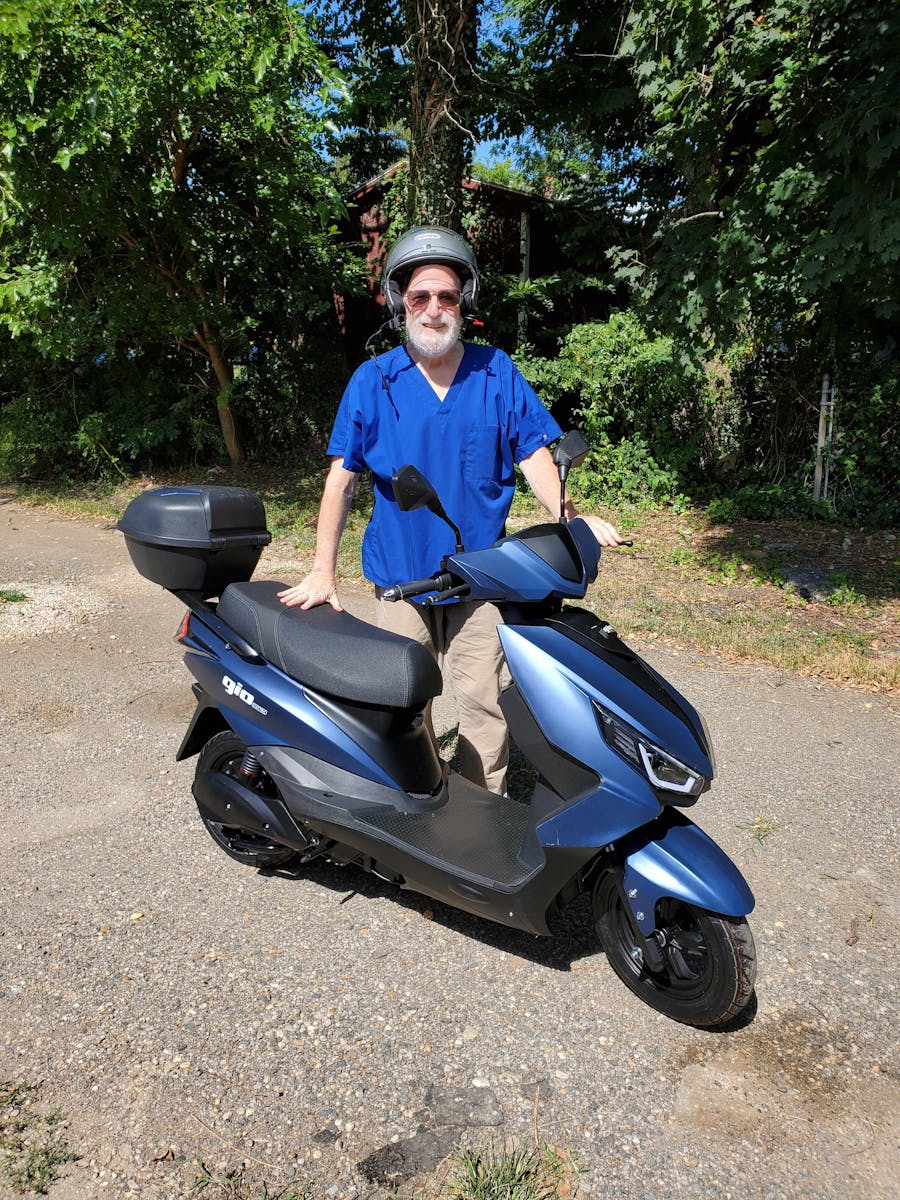
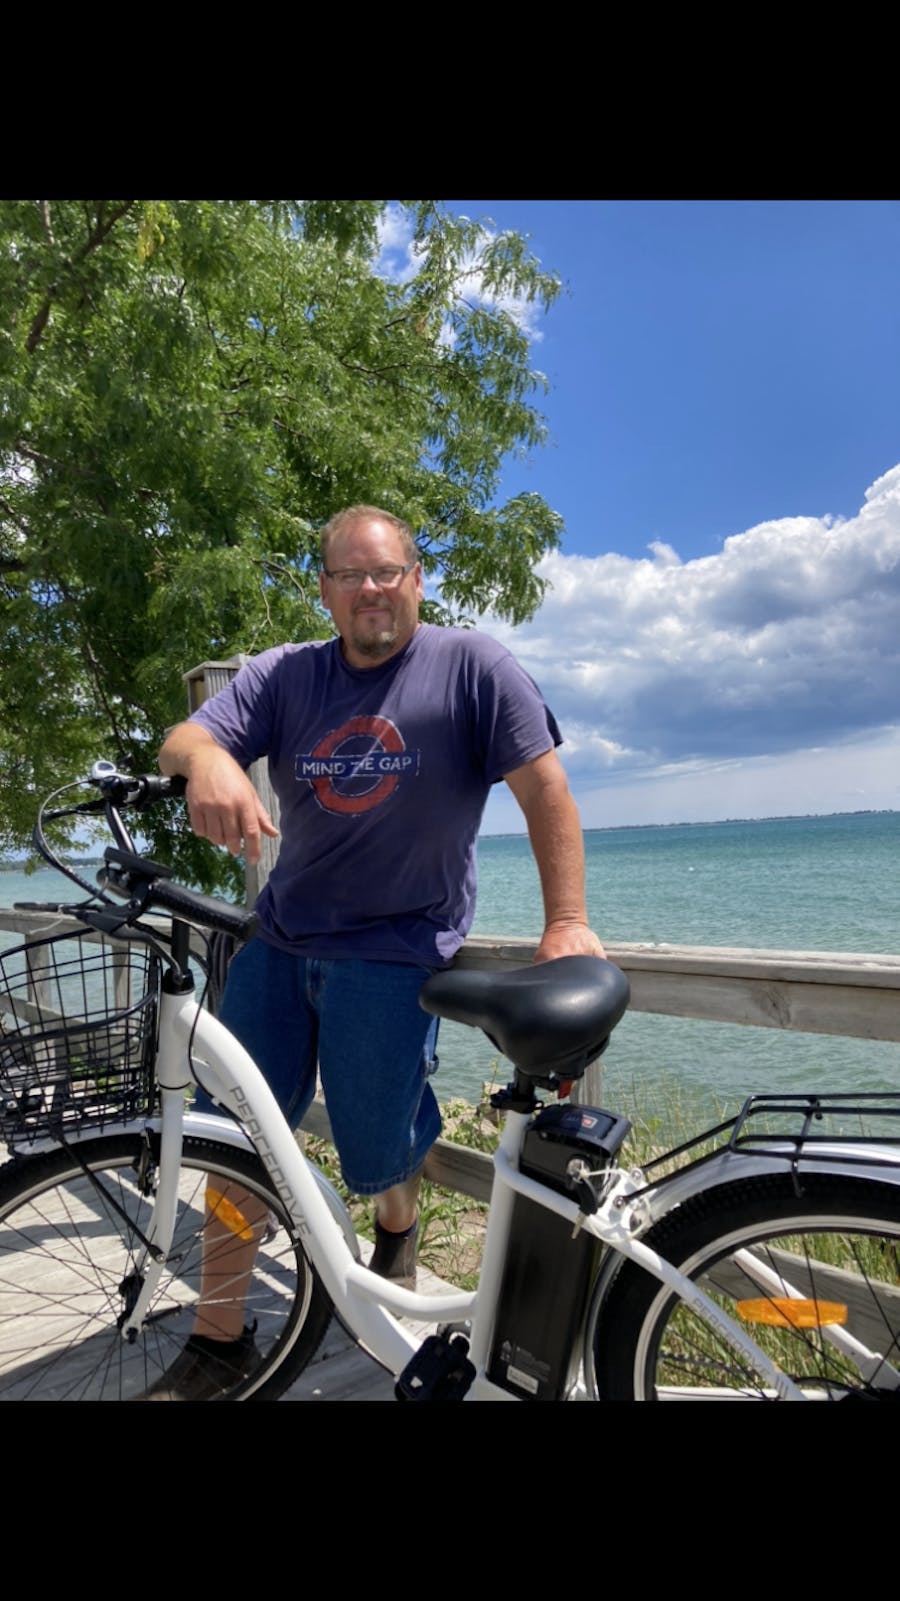
This scooter perfectly meets my commuting need mixed with a ton of fun. I usually just have one wheel powered, but turn the second one on for hills. I downloaded a GPS phone speedometer, to calibrate the speed. I wouldn’t want it to go any faster, but 33 mph is reality. But that’s crazy fast when standing and any more I feel would attract more attention than I want. It’s very well built, the charger fits great in the handlebar bag, and I picked up a second bad and cable lock.
I would recommend this for anyone who has a fun, back way to work that’s within 15 miles or so.

Love the eBike- goes as fast as traffic and NO GAS!! Easy to lock up and get to work. Great product
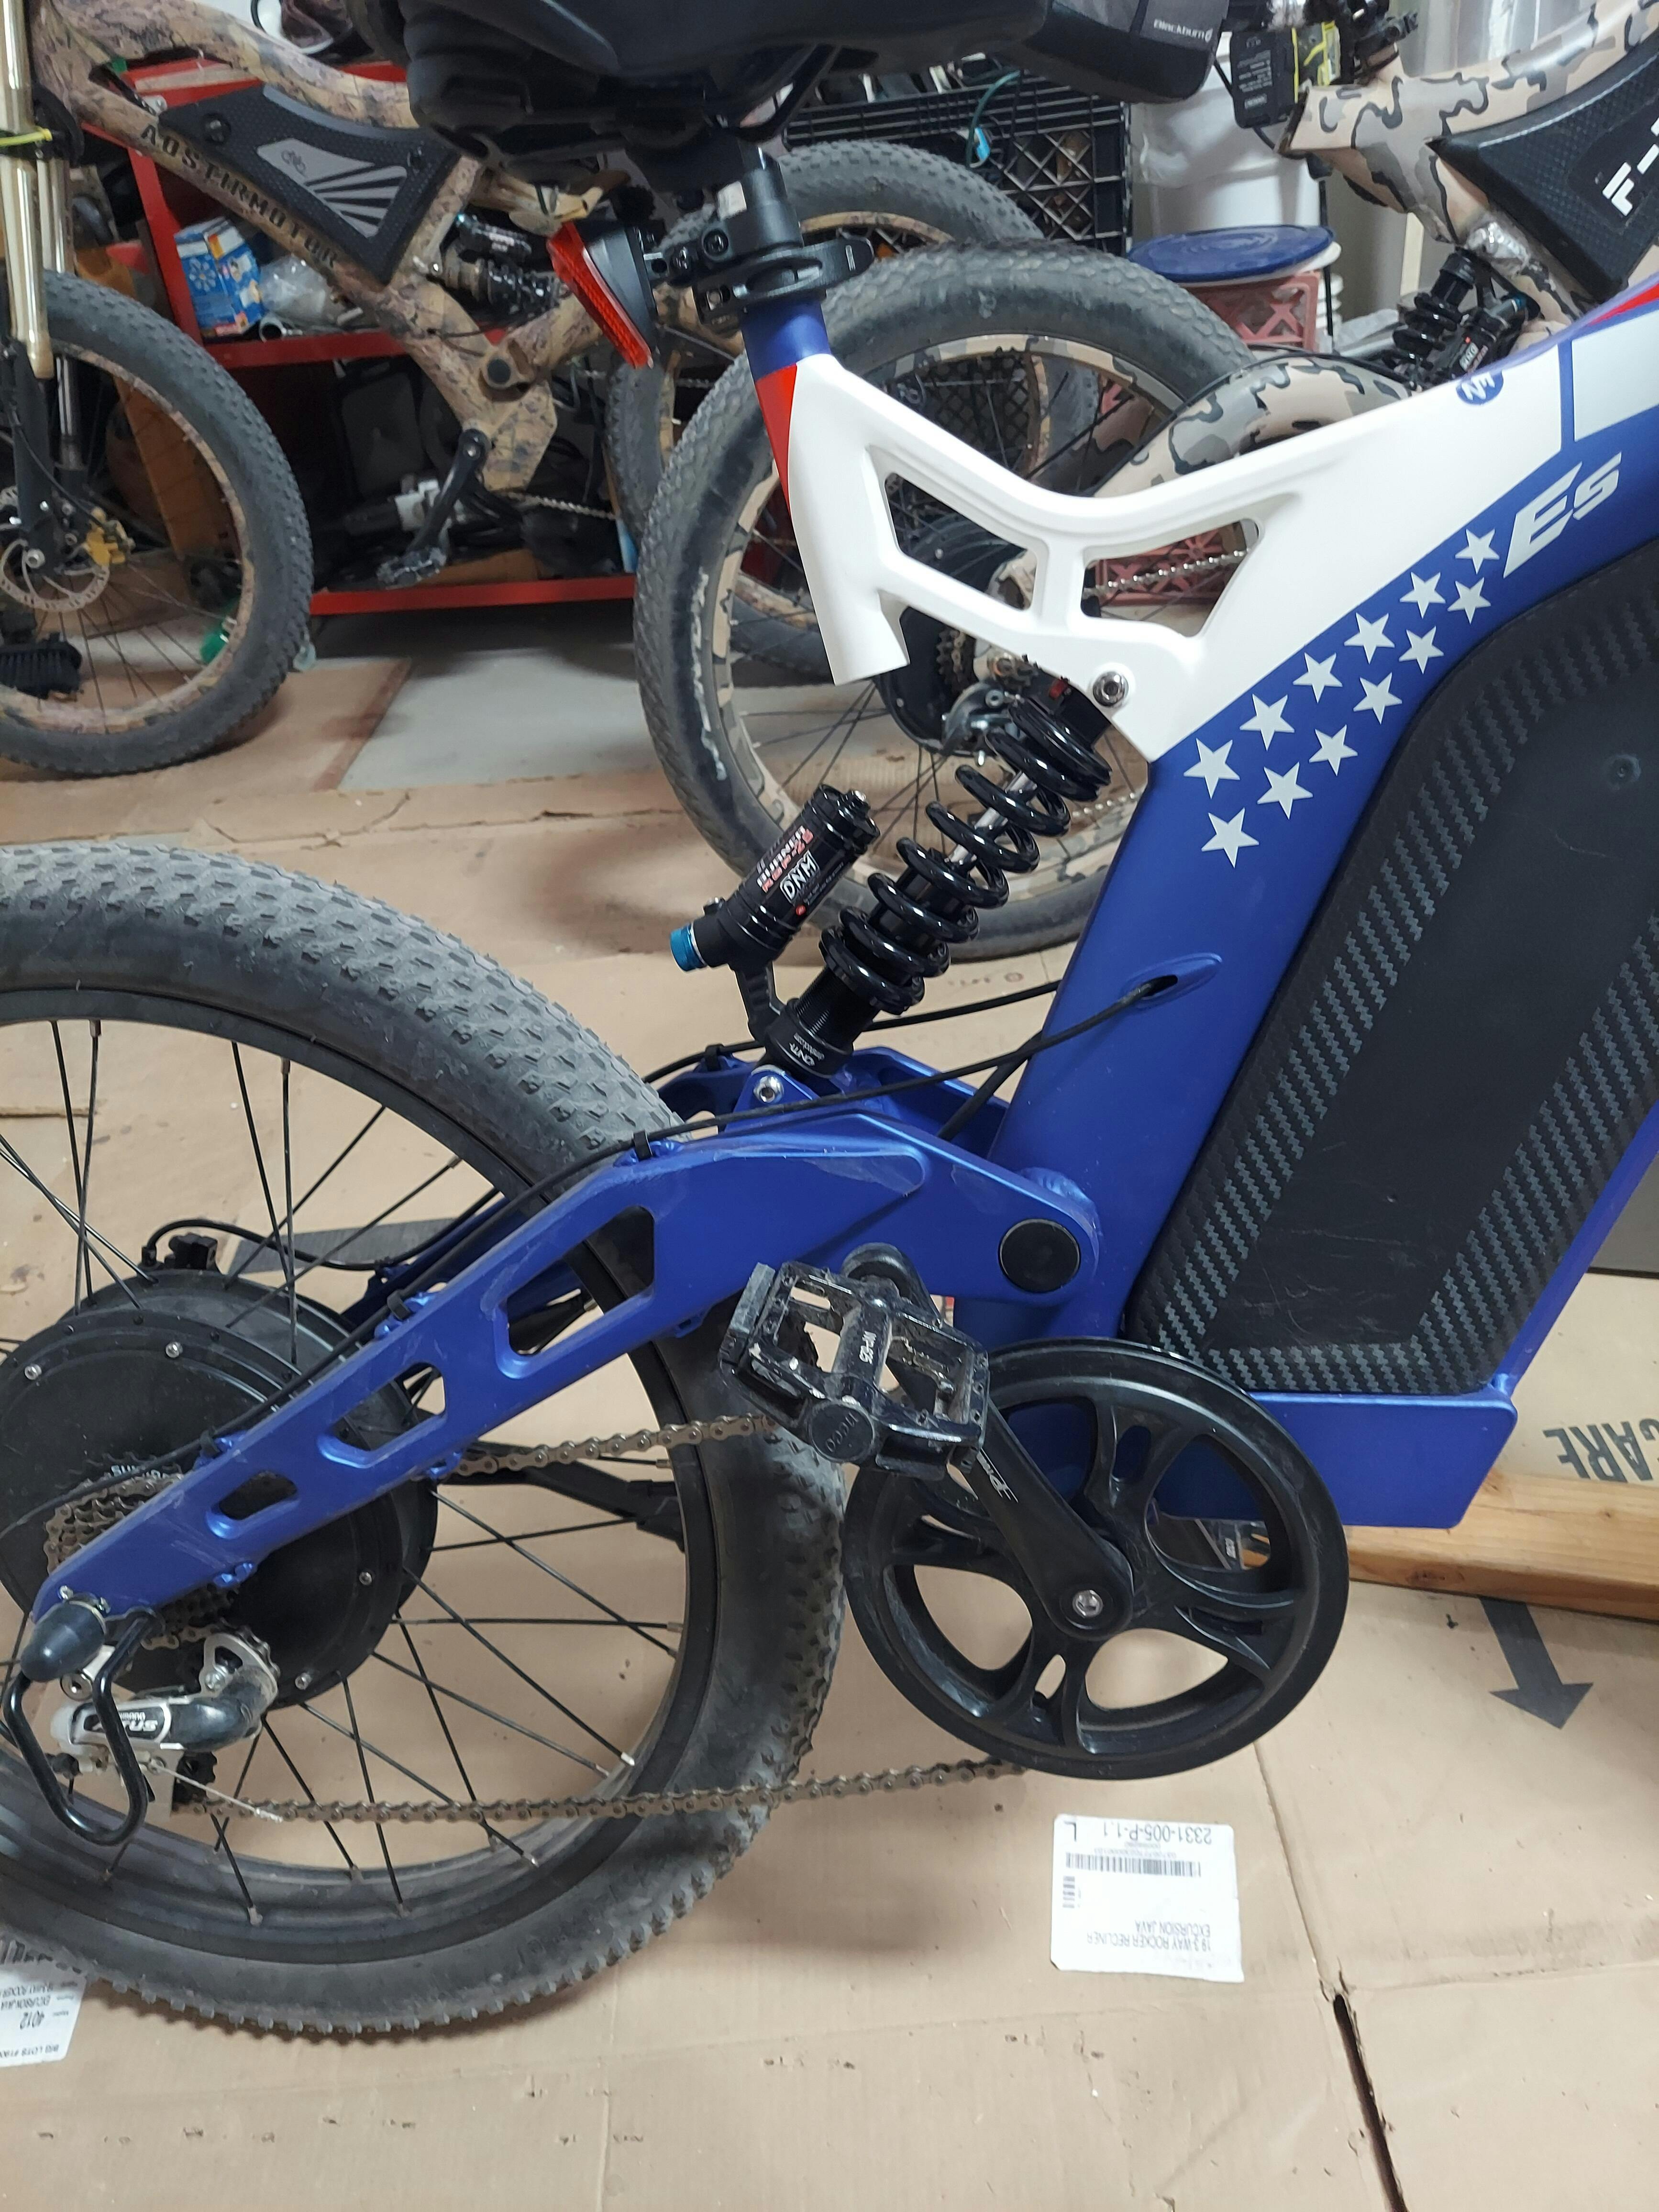
Wonderful bike high powered piece of equipment, XC70 this is the bike you want for all of your outdoor activities, what a piece of machinery.
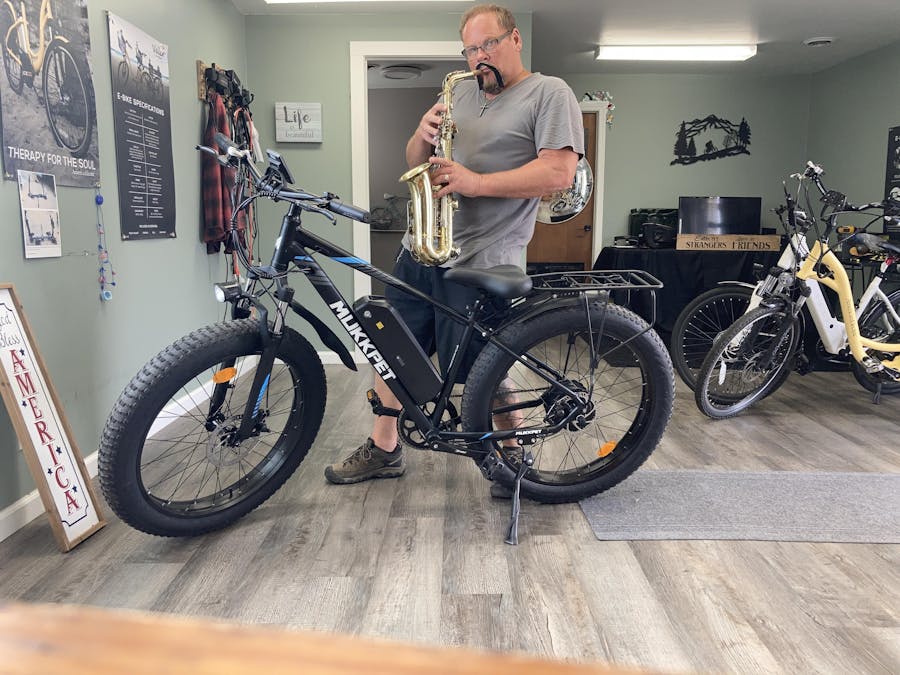
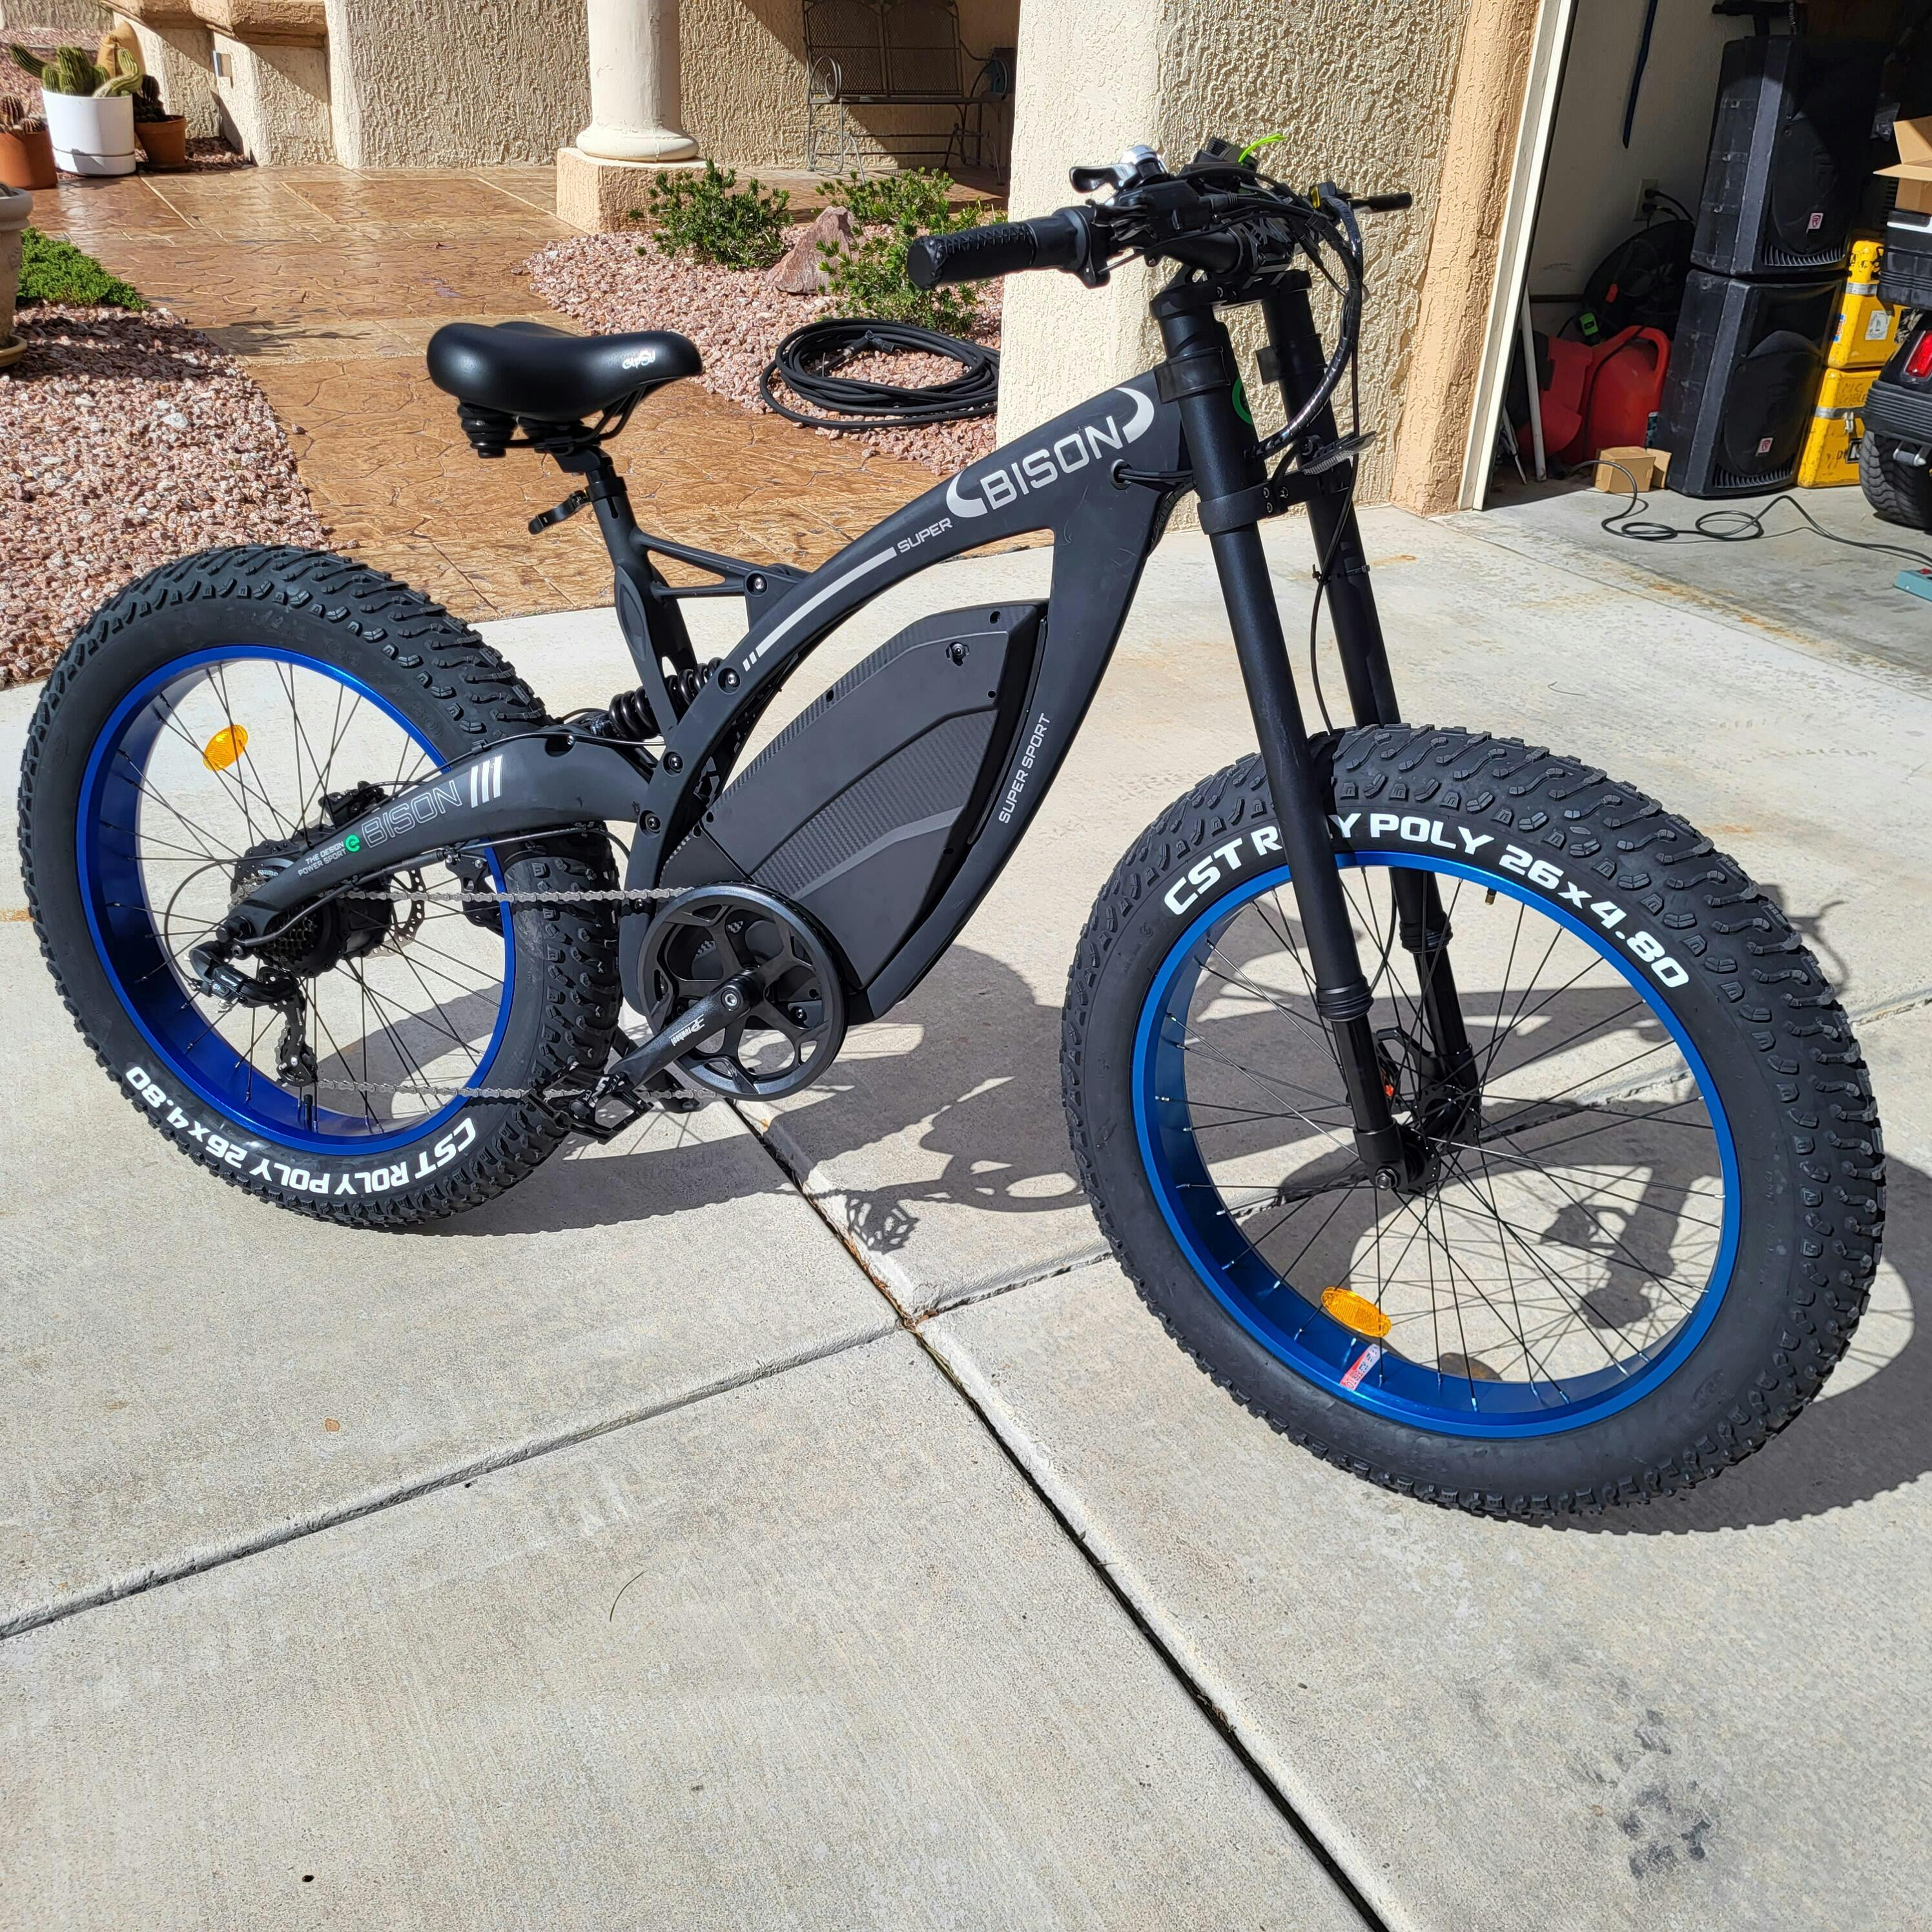
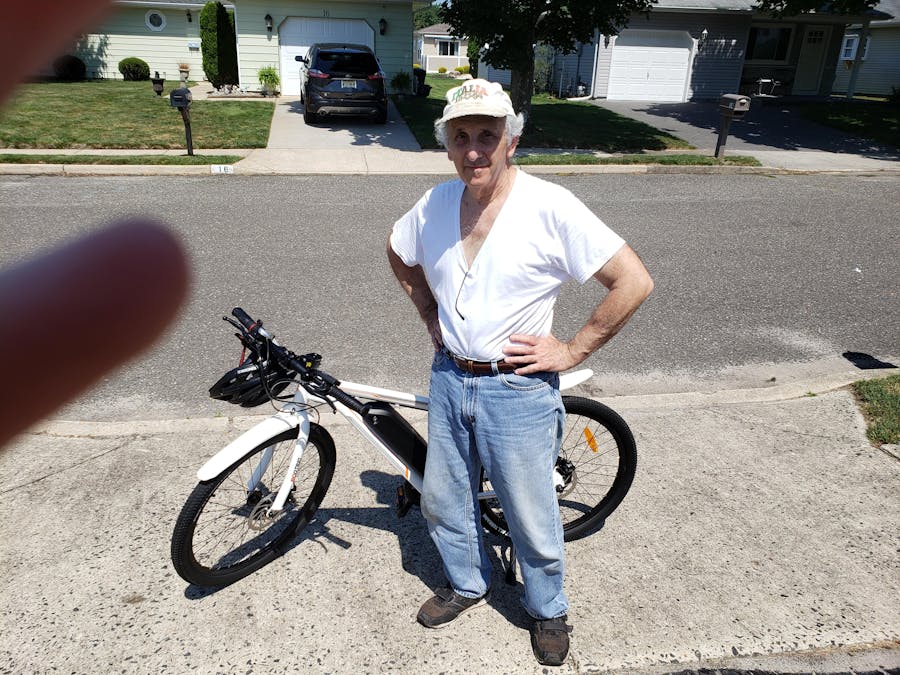
I live in the country and the area is mostly sandy. It does very well going up and down small hills. It's easy to go from manual to powered while you're riding it. I just can't say enough about it. It is just fun! Get one!
The bikes are amazing, they look and feel like a quality product, we sold the first one in three days, i’m very satisfied with the bikes, the second bike had a broken part which your company resolved mediately, I’m very impressed. I plan on buying several more bikes to resell in my brick and mortar bike shop, thank you so much, Drew.
Ps, I am having a little trouble setting up an account, customer service told me to try a different server, I’m trying to get the 7% discount for having an account. Hopefully I can get that resolved soon, I already have my tax number.
Again thank you very much.
I'm 74 and can still ride a bike. I love my Ecotric Vortex because I can peddle as much or as little as I want. If my knees act up, I can still be sure I can get home without a problem.
The insulated bag is so handy to have attached to the handlebars on the front basket. It will make having a picnic pretty easy, or just a cold drink halfway through our ride.